
This is a sponsored conversation written by me on behalf of Cricut. The opinions and text are all mine.
I am so happy that spring is finally here! Winter was especially long, even if it was mild. I am happy to see flowers blossoming and my little ones running around in their DIY rain boots. That's right.
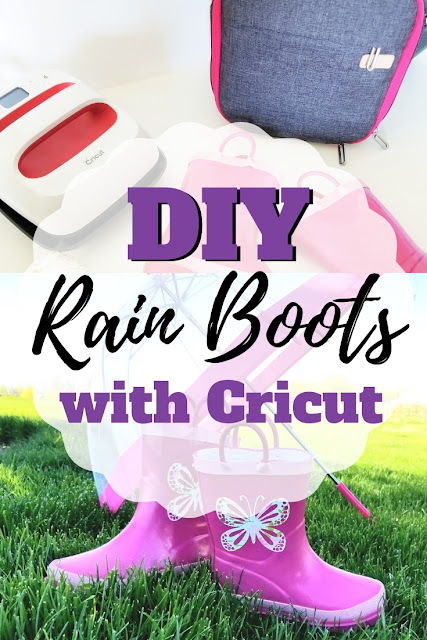
This year for Easter we decided that our kids all needed new rain boots to play, work and run around our 10 acres. Thanks to my Cricut EasyPress I was able to make them each their own custom rain boots.

This post contains affiliate links to products I recommend. I do make a portion off any you may purchase. See full disclosure here.
I was super excited with how easy it was to use iron-on vinyl on rubber boots. That might sound a little crazy, but I have A LOT of iron-on vinyl scraps.
To start I checked my Cricut EasyPress Temperature Guide to get an idea of what settings to use on rubber. I went with an in between setting between neoprene and cotton/poly.

Next, I pulled out my Cricut EasyPress Tote which contains my 6" x 9" EasyPress 2. It is such a great carrying and storing tote. Keeps everything in one place and ready to go.

I also took a moment to go through my vinyl to decide what to use on these pink boots. I had to try some of this floral patterned vinyl. It is so springy and makes me super happy!!

Now let me walk you through the steps to make your own fun DIY rain boots.
DIY Rain Boots Project
Materials Needed
- Rubber Rain Boots
- Cricut Iron-on Vinyl - I used patterned iron-on
- Cricut EasyPress
- EasyPress Tote
- Hand Towel

Step 1
Preheat your EasyPress 2 up to 315° F. Also, cut out your iron-on vinyl design in Design Space. You can get this pretty butterfly design as well.


Step 2
Wash the outside of your boots. Make sure to let them dry completely. Roll up a towel and place inside the boot. This helps make the surface easier to press on. Place your iron-on design to the outside of the boot.

Step 3
Place a press cloth or teflon sheet over the design and than press with the Cricut EasyPress 2. I used the 6"x 9" size because it works so nicely on small surfaces.
Press for 15 seconds and move to another angle. Make sure all the vinyl sticks to the boot before removing plastic sheeting. It may be best to use a cold peel to remove.

Step 4
Once you remove plastic sheet, place the press cloth over the design and press it again for 15-30 seconds. Make sure NOT to melt the boot.
Tada!!! Don't these DIY rain boots look great! This would be a great scrap busting project for all those iron-on vinyl scraps.

Comments submitted may be displayed on other websites owned by the sponsoring brand.


