
I seriously have a bit of an addiction to sewing up zipper pouches. I have so many different kinds and styles, but really, you can never have enough. My pouches hold anything from pencils and markers, to essential oils to small toys and games. Today I wanted to share with you another great DIY zipper pouch pattern plus 2 fun and free cut files.

Like I said before, I've sewn lots of zipper pouches. In fact, I have an entire tutorial on how to sew a zipper right here on the blog. Many people look at zippers and get a little scared. They really aren't as difficult as they seem. Plus, if you start learning to sew a zipper on a simple DIY zipper pouch like this one, it makes it so much faster and easier the first time around.

Once you've conquered the zipper, you'll be brave enough to try out this fun purse pattern or maybe even make some great projects for school time. I'm excited you've decided to try out sewing a zipper!!

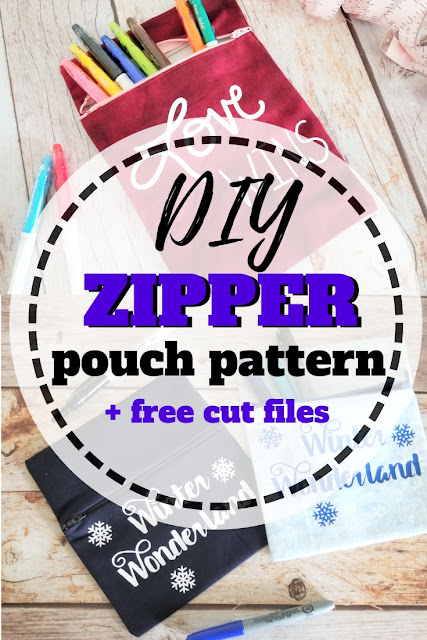
Not only will you get a chance to sew a fun zipper, but we are also offering these two fun cut files. The Love Wins file and the Winter Wonderland file. They are simple and can be used for loads of projects from DIY zipper pouches to tshirts, bags and notebooks. Scroll down just a bit and you'll find them towards the end of the post to download.
Make a DIY Zipper Pouch
Materials Needed
1/8 yard woven cotton fabric
1/8 yard lining fabric
7" zipper
thread
Don't forget to check out the video tutorial that is posted at the top of the page. Make sure to turn off your ad blockers or you won't be able to see it.

C ut an 8” x 16” piece of main fabric and 1 of lining fabric. Place the WRONG sides of the main fabric and lining fabric
together.


Step 1
Step 2
Match the raw edge of the fabric and the raw edge of the
zipper. Pin in place. Use a zipper foot to stitch the zipper to the both layers.
Repeat with opposite side of zipper. When you are done it should look like this
photo

Step 3
Turn pouch inside out.
Line up the sides and pin. Open
the zipper about 3 inches. Stitch down the 2 straight sides of the pouch. Be careful as you sew over the zipper.
Step 4
Trim the raw edges with pinking shears and the 4 corners.

Step 5
Turn the pouch right side out and press. Add a fun appliqué or iron-on decal. You can grab one of our free cut files below for Cricut, Silhouette or Brother cutting machine users.


You did it!! You made your own DIY zipper pouch!! They are so very handy. You'll be making them by the dozens now. Plus, with fun cut files like the Love Wins and Winter Wonderland, you'll have created something one of kind.


