When I was in college, I took several great sewing courses. I learned so much about sewing, but one of the most important lessons I learned was how to clean a sewing machine.
I know that might sound a bit silly, but keeping a sewing machine clean and tidy is an important skill for any sewists, beginner or advanced.
This post contains affiliate links to products I recommend. I do make a portion off any you may purchase. See full disclosure here.
I know that might sound a bit silly, but keeping a sewing machine clean and tidy is an important skill for any sewists, beginner or advanced.
This post contains affiliate links to products I recommend. I do make a portion off any you may purchase. See full disclosure here.
Why? Well, think about it. Would you continue using a hand mixer or blender that had dirt or dried on food all over it? (Hopefully not.)
It's the same for a sewing machine maintenance. To keep it in it's best condition, you need to clean a sewing machine regularly.
That doesn't mean you have to take it into a dealer for a cleaning, although you can.
Today we wanted to share with you a few tips and tricks for how to clean a sewing machine.
It isn't as difficult as you might think. And you probably already have the tools you need to clean your machine in your home.
How to Clean a Sewing Machine
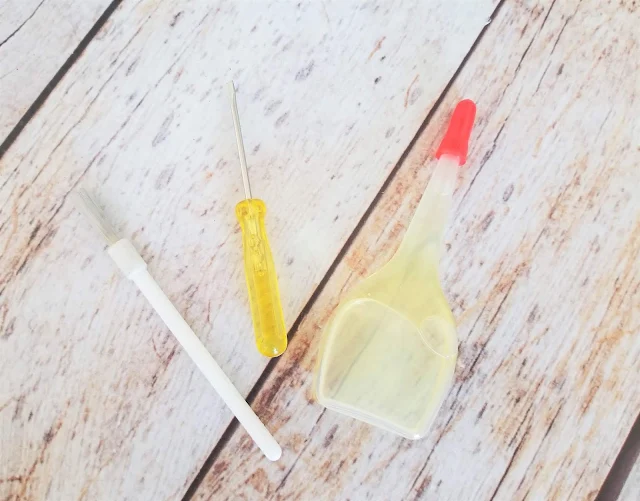
Materials
First, grab your owners manual. This will help you know exactly how your machine should be cleaned and where to apply oil later.
If you don't have a manual, you can always type in the make and model into a google search to find the owners manual. Isn't the internet great!!
If you don't have a manual, you can always type in the make and model into a google search to find the owners manual. Isn't the internet great!!
Next, you'll need a little lint brush. Most sewing machines come with a little brush designed to clean out all the lent from your machine.
But if you don't have one, you can always purchase one.
But if you don't have one, you can always purchase one.
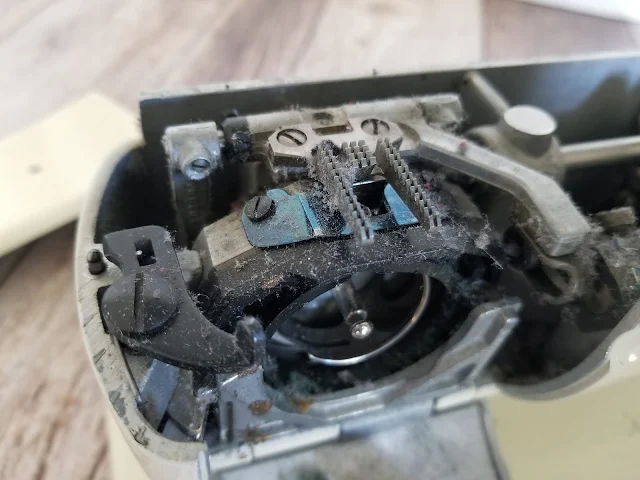
Start by removing your throat plate on your machine. You'll probably find a bunch of lent or thread under the throat plate.
Use that brush to clean it out. You may need to use a screwdriver to remove your throat plate.
Use that brush to clean it out. You may need to use a screwdriver to remove your throat plate.
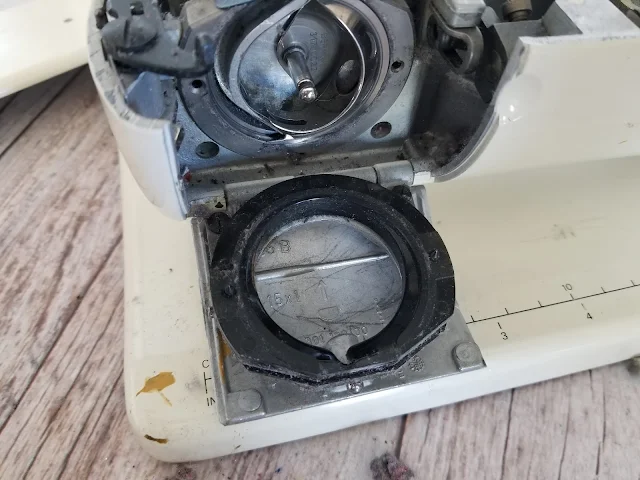
Next, pull out your bobbin and bobbin case. Brush each of these and brush inside your machine.
If you can remove your bobbin hook easily, do so and sweep around the inside. You can also use a pair of tweezers to remove any visible chunks of lint or thread that might be stuck.
If you can remove your bobbin hook easily, do so and sweep around the inside. You can also use a pair of tweezers to remove any visible chunks of lint or thread that might be stuck.
Never use compressed air to clean your sewing machine. It can do a lot of damage and cause the lint to lodge into your machine instead be cleaned out.


Grab that oil and oil inside the bobbin hook. Refer to your owners manual to know exactly where to place the oil so you don't cause damage to your machine.
Make sure to replace your bobbin hook and throat plate properly. This is an important part of sewing machine maintenance. Follow your owners manual!!
Make sure to replace your bobbin hook and throat plate properly. This is an important part of sewing machine maintenance. Follow your owners manual!!
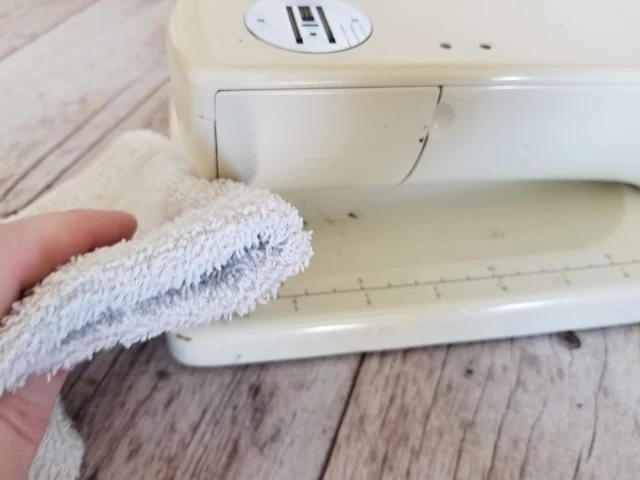
Take a rag and wipe down under the machine arm and around the throat plate.
Use that rag to wipe around all the buttons and knobs. If you have a piece of thin fabric, slide it down the inside of the take up lever, to help pull out any threads or lint. Wipe around the spool pins to remove any dust or dirt.
Use that rag to wipe around all the buttons and knobs. If you have a piece of thin fabric, slide it down the inside of the take up lever, to help pull out any threads or lint. Wipe around the spool pins to remove any dust or dirt.
Finally, pull out your needle and replace it. Yep, replace your sewing needle.
Did you know that technically you should replace your needle after each sewing project? Yep. But none of use usually do that. But make sure you replace it regularly. It makes a big difference.
Did you know that technically you should replace your needle after each sewing project? Yep. But none of use usually do that. But make sure you replace it regularly. It makes a big difference.
Now that you know how to clean a sewing machine, the next question is what can you do to keep that machine cleaner for longer.
How to keep your sewing machine clean
Cover your sewing machine. You'd be surprised how much dust can accumulate on a sewing machine in a day or two.
Remember it uses electricity so it attracts dust and dirt. Just like other electronics get dusty faster.
Remember it uses electricity so it attracts dust and dirt. Just like other electronics get dusty faster.
You can purchase a nice sewing machine cover or you can make your own like I did with our free Sewing Machine Cover pattern.
A machine cover is a great way to keep your machine clear of dirt and dust and also a great way to store some of those great sewing tools.
A machine cover is a great way to keep your machine clear of dirt and dust and also a great way to store some of those great sewing tools.
Don't use old thread. If you use old or vintage threads, you'll find that they break and fray much easier than modern threads. You'll end up with a lot more lint from vintage threads.
So use them for other fun projects and not for use on your machine.
So use them for other fun projects and not for use on your machine.
Get your machine serviced. At least once a year you should take your machine in for servicing. I know that seems like a lot (and I don't always do this either), but it can make a BIG difference.
So find a good dealer and take that sweet machine for a check up.
So find a good dealer and take that sweet machine for a check up.
I hope this helped you learn how to clean a sewing machine. Now you'll be ready for sewing that new project on your to do list!


