Christmas is in the air. Which is a little crazy when you think about how fast this year has flown by.
And with each passing year means my little ones are growing up. Which I do not like. I want them to stay little forever.
But I know that isn't possible, instead I've been trying to find ways to preserve them as little humans so that in years to come I can look back and be reminded of how small they were.
This post contains affiliate links to products I recommend. I do make a portion off any you may purchase. See full disclosure here.
One way I've done this is with our keepsake mittens ornament. Another way is with today's post for the free Santa hat pattern.
So how can a Santa hat preserve my memory of my little ones?
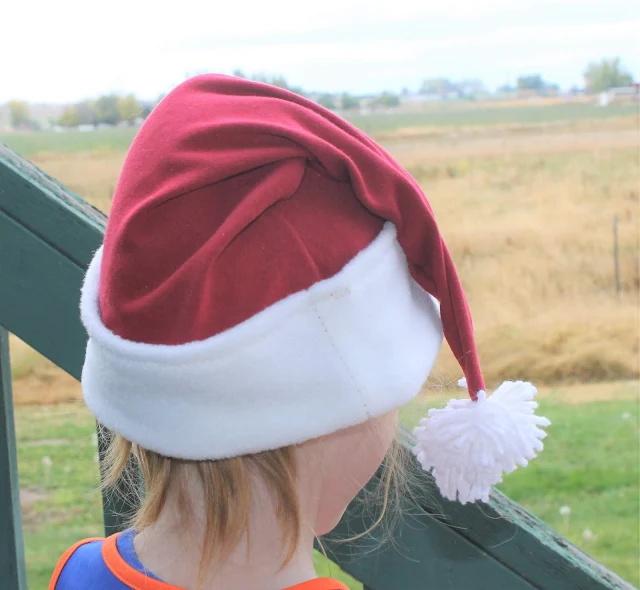
Well, each year we can try on the hat and take photos. Helping me to remember how small they once were. I love that they enjoy the holiday season so much.
It starts in October with Halloween and runs through the beginning of January with our New Years Eve party.
I love to watch them each year plan their costumes, create handmade gifts for others and get SO excited for decorating for Christmas and spending time with family, especially cousins.
For several years now, we've had a baby size Santa hat that I purchased for my oldest when he was tiny. My children try it on but it never fits quite right, but this year I knew I wanted to make some new hats that they could each wear, but also "grow into".
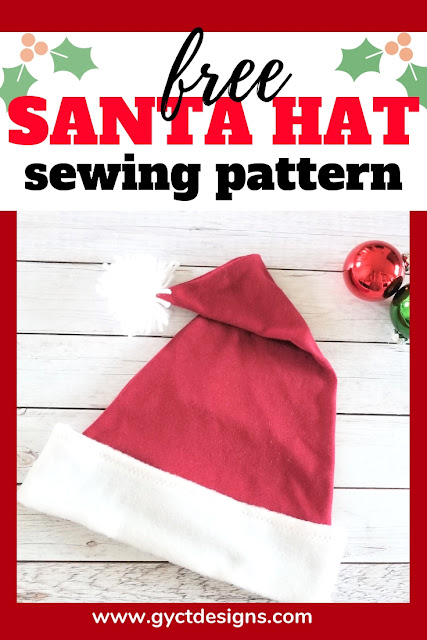
That is why I created this free Santa hat pattern. It comes in two sizes, child and adult.
That way as they become teens and adults, they can still get their photo taken for my own memories and as a tradition.
I'm offering this pattern for free to all my Sew Simple Home Newsletter subscribers.
Read through this entire post and I'll share at the end how to download the free pattern.
Sew a Santa Hat Pattern
Materials Needed
- Santa Hat Pattern (for child or adult) - check out how to download at the end of the post
- 1/2 yard of red fleece, good quality felt or knit fabric
- 1/4 yard of white fleece
- White yarn
- Thread
Step 1
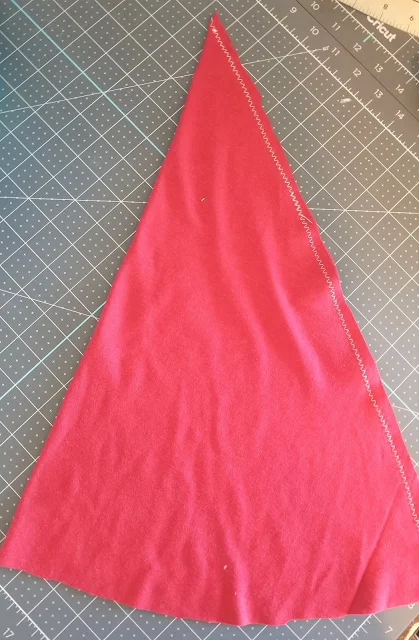
With Right Sides Together (RST), match the straight sides of the Santa hat. Stitch down the straight side.
Step 2
With RST, fold the white cuff in half matching the small sides. Stitch down the side.
Step 3
Open the cuff and turn on of the long raw edges toward the wrong side of the fabric a 1/4". Stitch around the cuff.
Step 4
Place the RIGHT side of the cuff to the WRONG side of the hat raw edge. Pin in place. Stitch the cuff to the hat.
You may need to stretch the cuff a but as you go, but that is okay.
It looks strange as you sew, but it will work out when you turn the cuff up so that the raw edges are not showing on the outside.
Step 5
Turn the cuff up towards the right side of the hat.
If you'd like, you can take the cuff to the hat so that it will stay in place and won't roll down or get pulled down. That is totally optional though.
Step 6
To make the pom-pom on the top of the Santa hat pattern, you'll need to grab and index card or pieces of cardboard about the same length and width.
Wrap the yarn around the index card about 20 times, or as many times as you'd like to make the pom pom full.
Cut a piece of yarn about 8 inches long. Carefully move the wrap yarn off your index card.
Place the cut piece of yarn under the yarn loops right down the center. Be careful not to unwind the loops.


Step 7
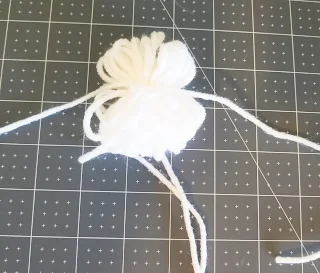
Tie the cut piece of yarn around the center of the loops in a tight square knot.
Step 8
Take scissors and cut all the loops. This will create that pom pom look.
You'll want to trim all the loops so they are the same length. So if you weren't super accurate in your wrapping in step 6, this step will help you even out the pom pom.
Leave the tails from your 8" cut piece of yarn long, you'll next them in the next step.
Step 9
Grab a large yarn needle and thread the ends of your yarn. Place the needle through the top of the hat and pull your yarns through to the inside of the hat.
This can be a little bit difficult since the yard is pretty thick and you are trying to pull it through small fabric. Just work carefully so you don't damage your fabric.
You can do one yarn at a time and that makes it a little easier.
Once both yarns are on the inside of the hat, tie them together in a square knot and cut the tails down.
There you have it! A finished Santa hat. Isn't this such a quick and easy sewing project for Christmas!!
I seriously love little people in Santa hats. I think I'm going to have to make one for every child I know.
And the fact that you can make a ton of them super fast, it makes it nice to make for classroom parties or even holiday choir concerts.
Want the free Santa Hat Pattern? Simply click the button below to have the Santa Hat pattern emailed right to your inbox.
Don't forget to join our Facebook sewing group to share your great finished creations.


