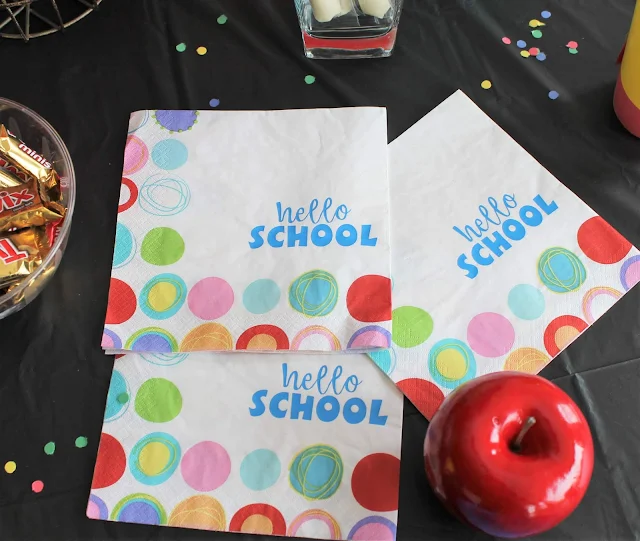
Ever since I got my Cricut Maker and my Cricut EasyPress I've been putting iron-on vinyl on all the things. Like....all of them. But one item I had not yet tried to put iron-on vinyl on was paper.
More specifically, paper napkins. But this was pointed out to me and so the quest of how to make iron-on vinyl napkins began.
This post contains affiliate links to products I recommend. I do make a portion off any you may purchase. See full disclosure here.
I was planning to throw my children a surprise back to school party. I thought this was the perfect time to try iron-on vinyl on napkins. This way if they didn't do exactly what I wanted, no one would mind and I could experiment a bit.
Let me show you how I made them.
How to make iron-on vinyl Napkins
Materials Needed
- Cricut Maker
- Cricut EasyPress or iron
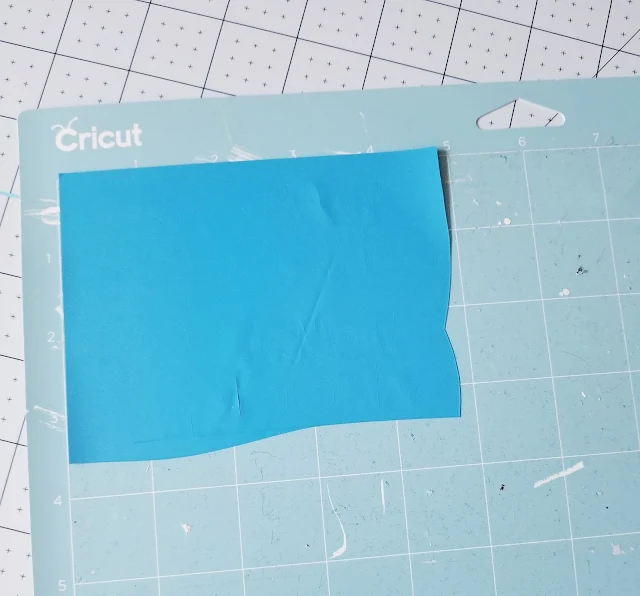
- Cricut Iron-on Vinyl
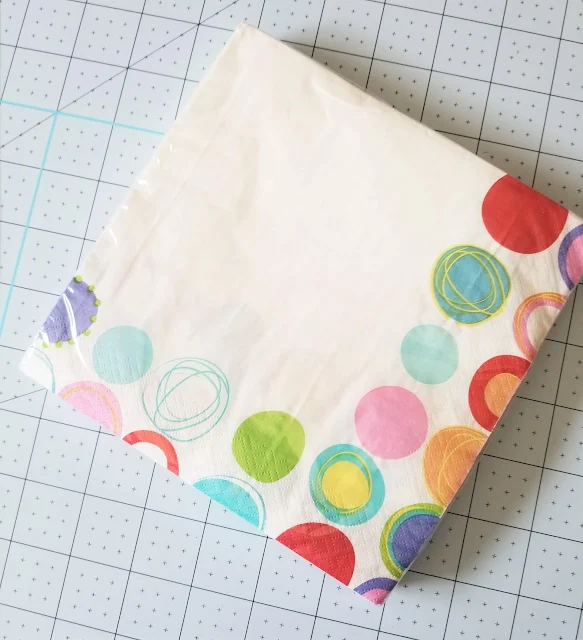
- Paper Napkins
- "Hello School" cut file in Design Space
Make sure whatever you plan to place on the napkin will add to the design and not confuse people or be an incorrect size and look a little silly. Try experimenting with a few first before committing to a design.
Step 1
Start by opening up Design Space and getting the "Hello School" cut file or open another file that you'd like to add to your paper napkins. Make sure to measure the area you want to place your iron-on so that you know how big to make it in Design Space.
Step 2
Set your cut file on Mirror, since you are using iron-on vinyl. Cut out the file on your Cricut Maker or other cutting machine. Than weed out the excess vinyl.
Step 3
Get your EasyPress preheated. I did a little research and looked on my Cricut EasyPress Temperature Guide Printable to see what temperature was best for paper. Since napkins are made of paper. I went with 280° F for 30 seconds.
Step 4
Press your napkins individually for about 15 seconds. Just to make sure to remove any moisture and to heat up your paper napkin. This will help the iron-on vinyl to stick to the napkin.
Step 5
Place iron-on vinyl on napkin and press for 30 seconds. Allow to cool for about 15 seconds and remove the protective sheet.
Step 6
Flip your napkin upside down and press again for 30 seconds.
Now you have a custom iron-on vinyl napkin to use for a party, gathering or special occasion.


