My little girl loves mermaids. Ariel is her favorite princess. Water is her playground. And if she could, she'd be a rock-n-roll superstar.
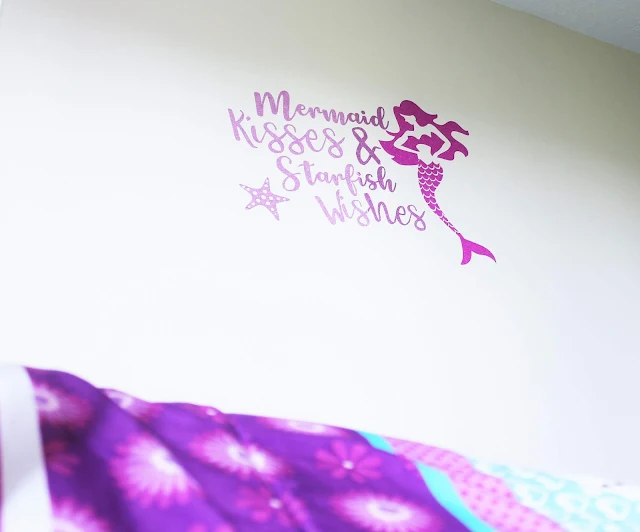
Naturally, when we decided she needed a little bedroom upgrade, we settled on mermaids. But how to get a giant mermaid on the wall in her room was the challenge.
Luckily, I went to a great class at the Cricut Mountain Make-a-Thon in July and we discussed some of the amazing oversized projects that can be done in Design Space . I knew I could conquer this project.
How to Create Oversized Projects in Design Space
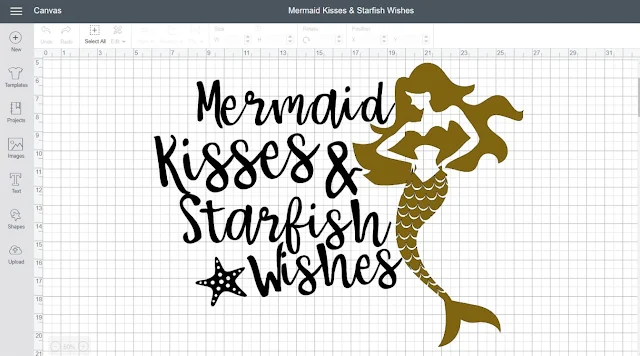
To start, I had to come up with the design. I headed over to Design Space and searched for the perfect font and the perfect mermaid image.
Of course they had just what I was looking for. I came up with this adorable saying and mermaid image.
Step 2
Next, I had to measure the wall for the size of image I was wanting to create. That is an important step, otherwise your image may be too big or too small.
Step 3
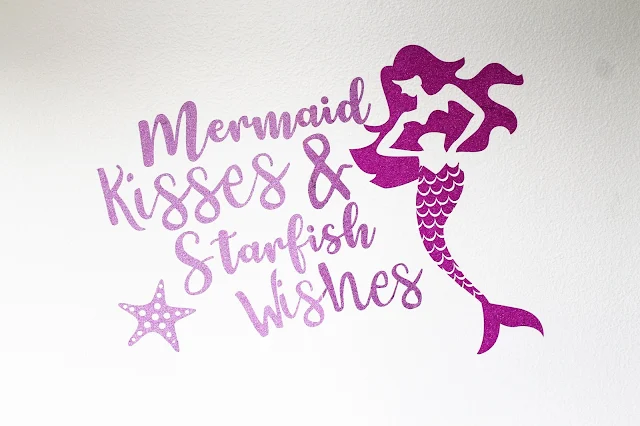
Next, I put the image and the sizing together to create the perfect oversized memaid in Design Space. I moved everything around and attached it together until I had the size and design I wanted.
Finally, I created blocks that are the correct cut size of the 12 x 24 cutting mat and sliced the design.
Since this part is hard to type out or explain without showing you, I put together a little video tutorial so you can do it along side with me.
Want the FREE Mermaid Kisses and Starfish Wishes cut file? Simply click the link below to download


No comments
I'd love to hear from you!