I really
love the 4th of July.
Probably because it means summer is here and we get to get yummy grilled
food and watch fireworks. But also
because I love to celebrate America and all the wonderful ways I’ve been
blessed as a citizen.
This post contains affiliate links to products I recommend. I do make a portion off any you may purchase. See full disclosure here.
We like to show our American pride with decorations like our DIY Patriotic Pillow or our Red, White and Blue Ruffle Skirt.
Whether you are American, or from another country, we all love to show pride in where we live and who we are. That is what patriotic holidays are all about.
When it
came time to start thinking about putting up my 4th of July
decorations, I knew I needed some new ones.
We’ve lived in our home for 2 years, but I’ve yet to get my holiday
decorations filled in. I knew I wanted
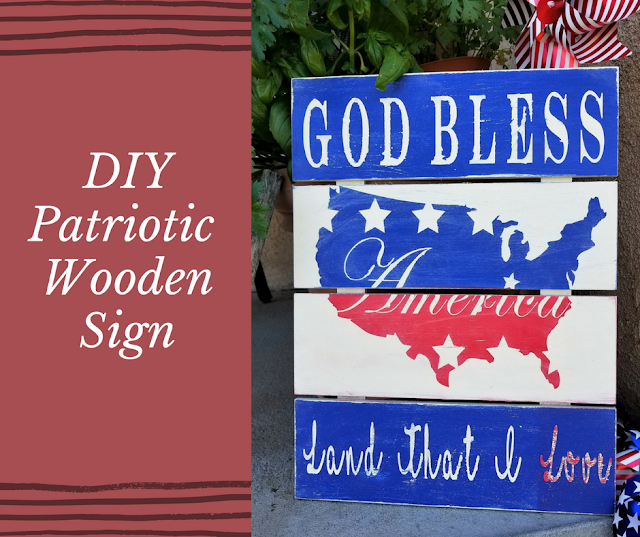
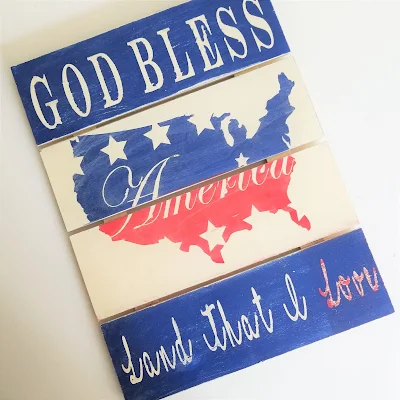
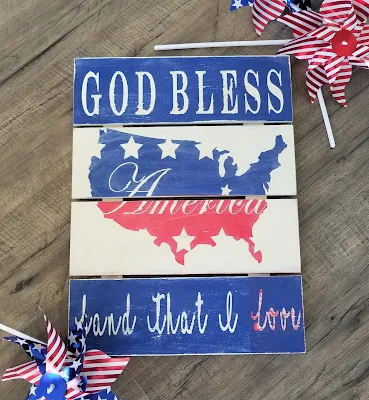
to do a DIY God Bless America sign. So I
turned to pinterest and to my Cricut Maker for some ideas and inspiration.
I tried a
few different things like doing the liberty bell but it wasn’t ringing true for
me. (Get it, ringing true.)
That’s when I decided to use the idea of the American
flag and the silhouette of the United States.
I used
the knock-out method to make my patriotic sign for adding the text on the
country and stars. I really love how it
turned out.
I wanted
not just to share my sign with you, but you can get the SVG files for my sign
for free in my
Cricut Design Space.
Just head on
over and grab them for yourself. I also
put together a little tutorial video below so you can see for yourself how I
did it.
DIY God Bless America sign
Materials Needed
- Wooden Sign
- RemovableVinyl like Orcal 631
- Red, White and Blue Acrylic Paints
- Cricut Maker
- Sandpaper
Step 1
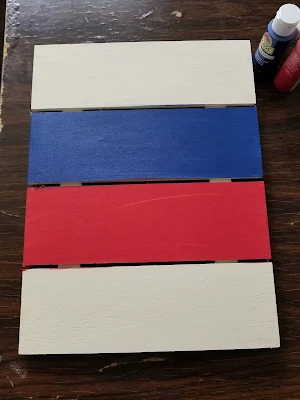
Paint your wooden slats different colors. If you paint the slat white, you’ll paint over it with either red or blue. If you paint it red or blue, you’ll paint over it with white.
You'll notice in the video how I have a small square on the bottom right hand side in red, that is for the word “love”.
Step 2
Cut out your God Bless America SVG files. Use your Cricut Maker to cut them out.
Step 3
Weed your
pieces and put them onto the transfer paper.
Transfer to your wooden sign.
Tip: If you don’t want your design to bleed, you
can paint a little bit of Mod Podge
around your letters to help them stick better.
I want more of a vintage, weathered look so I didn’t mind the bleeding.
Step 4
Paint
over your vinyl pieces using the directions in step 1 as your guide. Let it dry completely.
Step 5
Peel off
your vinyl pieces.
Step 6
Sand down
your design with some sandpaper.
That’s
it! Now you have a sign to add to your
mantel, porch or wall to celebrate America.


