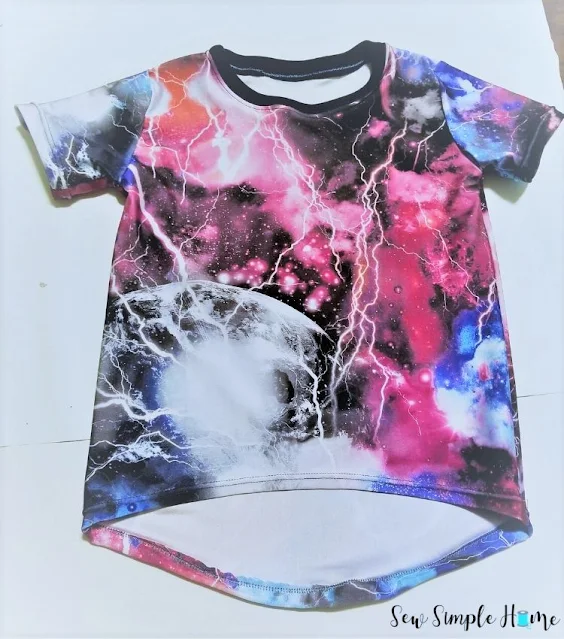
Excited to announce the release of the Hattie Hi- Low Tee PDF Pattern.
Mostly because now my daughter will have clothes to wear this summer {and fall and winter}.
This tee is a simple knit t-shirt with a fun hi-low hem which looks really great with leggings or jeans.
The Hattie Hi-Low Tee PDF Pattern is a simple knit t-shirt with a fun hi-low hem which looks great with leggings. Pattern includes a t-shirt option with a short and long sleeve option.

The Hattie Hi-Low Tee PDF Pattern is a simple knit t-shirt with a fun hi-low hem which looks great with leggings. Pattern includes a t-shirt option with a short and long sleeve option.

Which, let's face it, is really all you need when it comes to kids clothes.
This is also a great beginner knit project. So if you are new to knits or you just finished up our Free Knit Sew Scary course, this is a great project to try out.
The pattern includes step by step instructions, full color photos and full size pattern pieces.
When purchasing the pattern you'll receive the pattern in sizes 12 month through 12 years. That's means you can sew for all those little people.
Best part about the new Hattie Hi-Low Tee. It's a freebie!! You can download the pattern pieces at the end of the post.
--------
Want the entire Hattie Hi-Low Tee Pattern and full step by step photo tutorial and none of the hassel? Grab it for $3.97 in our Etsy Shop. No need to access the internet each time you want to make your own.
------------------
Free Girls T-shirt Pattern
Materials Needed
- Lightweight to Medium Weight Knit like Jersey or Interlock
- Thread
- Ballpoint Needle
- Optional: Double Needle
Step 1
With Right Sides together (RST), match the shoulders of the front and back bodice. Pin both of the shoulders and stitch across with a zig zag, stretch stitch or on a serger.

Step 2
With RST, fold neckband in half matching the short sides. Stitch down the short sides. Fold the neckband down so that wrong sides are touching and you now have a circular band. Press


Step 3
With RST, place neckband over neck edge of the top. Match the seam of the neckband to one of the back bodice seams. Find the middle of the neckband and match it to the opposite front seam. Pin rest of neckband in place.
You may need to stretch the neckband slightly as you pin for it to fit properly. Stitch neckband to shirt.
Turn neckband up and press with iron. Using your double needle or zig-zag stitch, topstitch around the neckband.
Step 4
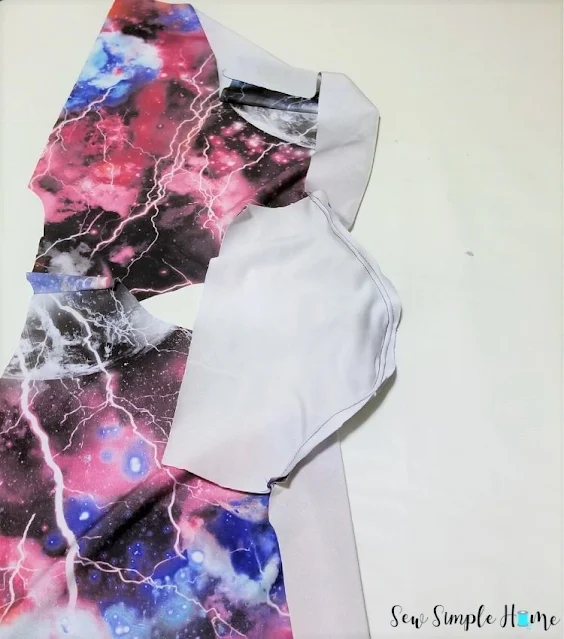
With RST, pin the center of the sleeve on the shoulder seam of the bodice. Pin the sleeve to bodice matching the sleeve and bodice as you go. Stitch across the sleeve from one side to the other. Repeat with opposite sleeve.
Step 5
Turn bodice so that right sides are together. Match side seams and sleeves. Stitch down the side seam. Repeat with opposite side.
Step 6
Fold the edge of the sleeve up ½” and pin the place. Stitch around the hem. Repeat with opposite sleeve.
Step 7
Turn the bottom edge of the bodice up ½” towards the wrong side of the fabric and press. Topstitch around the hem of the bodice. Press.
Want the free Hattie Hi-Low Tee sewing pattern pieces? Simply click the link below
OR
--------
Want the entire Hattie Hi-Low Tee Pattern and full step by step photo tutorial and none of the hassel? Grab it for $3.97 in our Etsy Shop. No need to access the internet each time you want to make your own.
------------------


