If you follow Sew Simple Home on Facebook you may have seen that I just got a Cricut Maker (along with a ton of other awesome tools and vinyl).
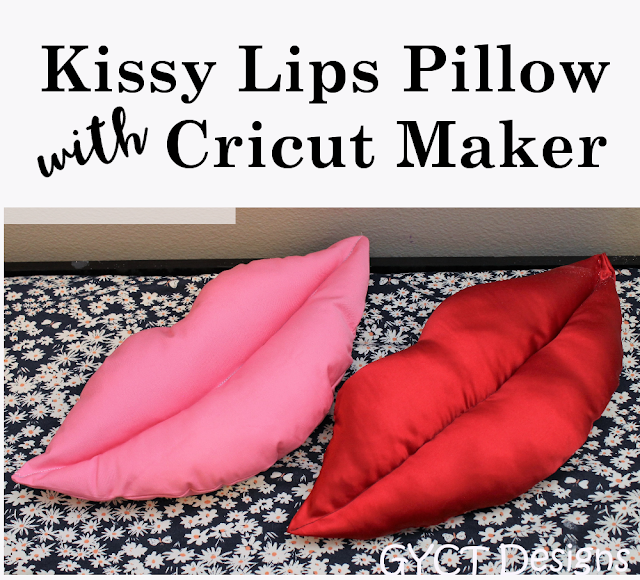
Of course, I had to create something...like...NOW. And who doesn't need some lip shaped pillows for Valentine's Day decor? This was a great way to get to know my new machine.
Plus, the Cricut Maker is a great tool for those who sew and since that is one of my favorite things to do. I had to create a sewing project.
This is a sponsored post for Cricut but the content and opinions are my own. This post contains affiliate links to products I recommend. I do make a portion off any you may purchase. See full disclosure here.
I must say that I love this new lip shaped pillow. I also love that I didn't have to cut it out by hand. Nope. My new Cricut Maker did that for me.
All I did was create the design, send it to my Maker, and voila! Cut out and I didn't even need scissors. And let's face it, pretty much everyone hates cutting out patterns. It is pretty much the worse part of sewing.
Now yes, I created this sewing pattern myself. But you probably already know that I have my own PDF pattern shop. Which means I already have some experience creating patterns.
If have no idea how to make a sewing pattern, DON'T WORRY. Cricut has you covered!! They have tons of patterns available in Cricut Design Space just for you.
However, I've put together some fun and free sewing patterns just for you and your new Cricut Maker. Once these cuties are cut out, they are a quick and fun sew.
That means if you still need a last minute gift, this one works. Let's get started on making this cute lip shaped pillow.
Materials Needed
- Free Kissy Lips Pattern - Get PDF or SVG at the end of the post
- 1/2 yard of fabric
- Thread
- Poly Fiber-fil
- 12 x 24 Fabric Grip Mat
- Cricut Maker
Put together a full video tutorial or you can follow the step by step instructions below. To watch the VIDEO make sure your ad blockers are off. It is displayed at the top of the page.
Step 1
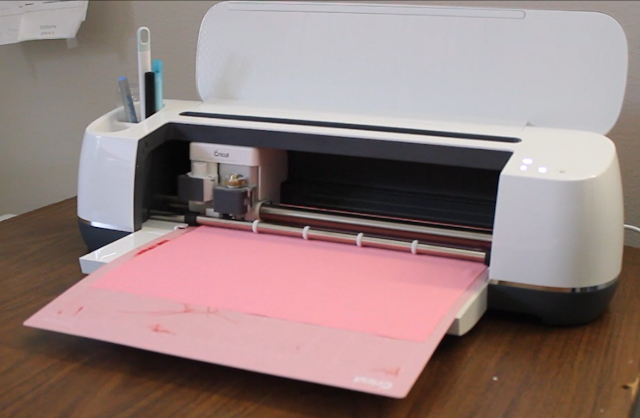
Upload the lip shaped pillow SVG file to Cricut Design Space. You'll want to resize the file to me 11.5" wide and 19" long.
You can resize it to a smaller size as well. Prepare your fabric and place it on the 12 x 24 mat. Send file to your Cricut Maker and cut.
Step 2
Remove mat from Cricut Maker. Peel fabric off the mat. Repeat step 1 and 2 with other side of the lip pillow.
Step 3
With right sides together, pin your 2 lip pieces together. Leave a 2" opening on the top lip and a 2" opening on the bottom lip. Make sure to leave an opening at the top and bottom or you won't be able to stuff both sides later!
Sew the 2 sides together. Clip around all the curved edges and trim your corners.
Step 4
Turn your pillow right side out and press. Make sure all the curves and edges are crisp. You can use a wooden dowel or the eraser side of a pencil to ensure all your edges are nice and crisp.
Step 5
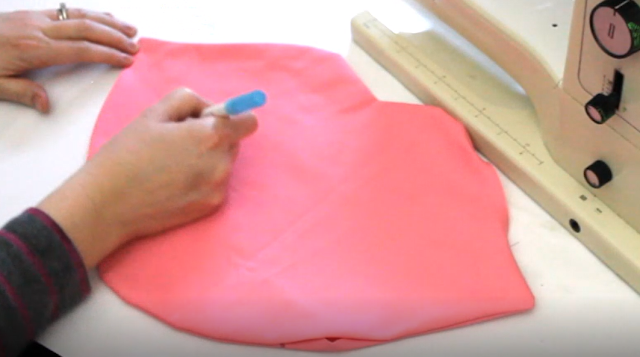
Use a washable fabric pen and mark a line across the lips to divide them. Stitch across this line.
Step 6
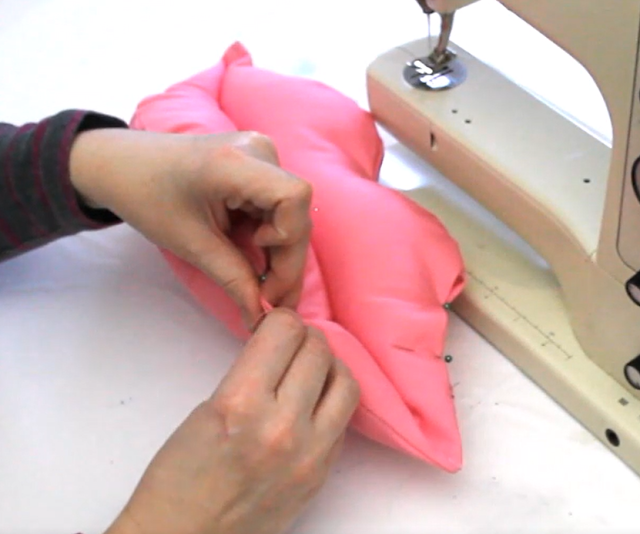
Use the poly fiber-fil and stuff the pillow. You want it to be fairly firm, but not so full you can't pin it closed.
Pin the openings closed and hand stitch to close. Check out this post about how I sew closed pillows.
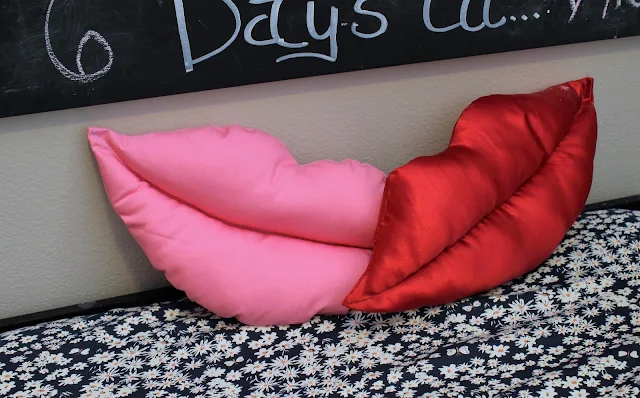
Tada!! You now have a finished lip shaped pillow to add to your couch, bench or bed for Valentine's Day.
Of course, it doesn't have to be Valentine's Day to sew up some Kissy Lips! But it is a fun project to do for the holiday.
Want the free Kissy Lips Pillow Pattern? Simply click the button below to download.


