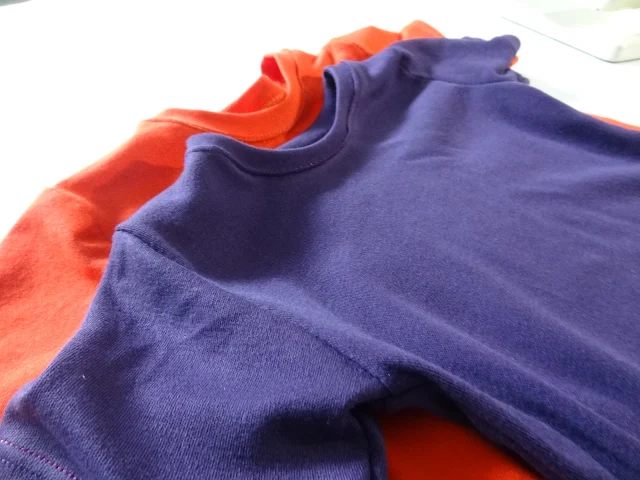
Have you ever wanted to know how to sew a t-shirt but just didn't know how? Maybe you thought it'd be a lot cheaper. Or perhaps you wanted to make a fun custom shirt, but didn't want to head to the store to buy one.
We've got just the post for you today. We are going to show you step-by-step how to sew a t-shirt sewing pattern. If you need a t-shirt pattern, check out the end of the post on how you can get your own kids t-shirt pattern for FREE.
This post contains affiliate links to products I recommend. I do make a portion off any you may purchase. See full disclosure here.
Let me start by saying that you can never go wrong knowing how to sew your own t-shirt. Why? We as humans love a good comfy t-shirt. My children especially.
I can't count the number of times my kids came to me wanting a t-shirt for a certain holiday or event and I was able to whip one up for them and customize it. All in under and hour and before the big event.
Not only did we save time by not having to go to the store, but money because the fabric is already on hand. And since children's patterns take so much less fabric, I could make them for less money as well.
Here's a great example above. This past 4th of July I whipped up these t-shirts from my fabric stash for my 3 kids. I just hadn't left myself enough time to get them done before this and knew I wanted to make something. I used the Rival Raglan pattern for my oldest 2 and the Primary Tee for my youngest. I sewed them up in under 30 minutes and then added iron-on vinyl for their tees. My son's chicken shirt was a big hit especially since he loves chickens.
You can use any t-shirt sewing pattern you might have or you can grab one of our many t-shirt patterns in our Sew Simple Home PDF Pattern Shop. The pattern we are using today is the full Primary Tee Pattern. Let's get started!
How to Sew a T-shirt Sewing Pattern
Materials Needed
- T-shirt Sewing Pattern - get one for free at the end of the post
- Tape
- Knit fabric (I suggest an interlock or jersey knit)
- Twin/Double Sewing Needle
- Scissors (these are what I have)
- Pins
- Thread- I love Gutermann Thread
Step 1
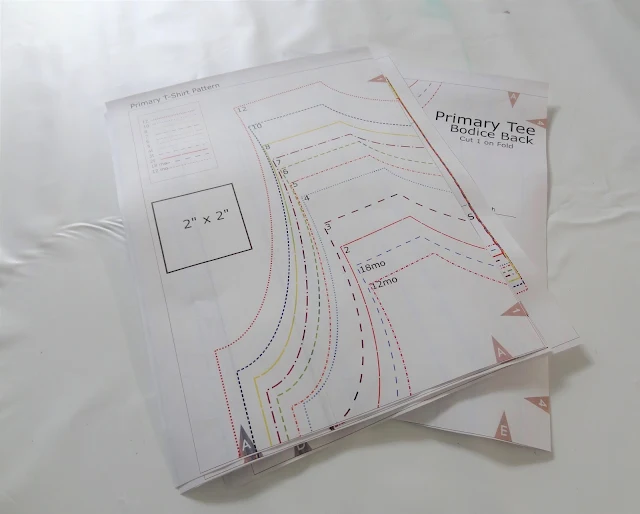
Start by printing and cutting out your PDF pattern. Each designer is different, but my patterns I can cut off the bottom and the right side. This way I can tape them together easily.
Tape the pieces together and then select your size. Make sure to check the size chart and the measurements of your child so you get the correct fit. Just because your child is a size 4 in ready to wear clothes doesn't mean they are a size 4 in PDF t-shirt sewing patterns.

Step 2
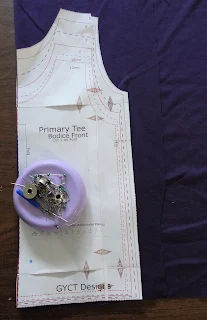
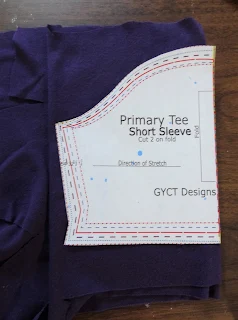
Take your knit fabric and fold it in half. Usually I will fold one side enough to fit my pattern piece. Place the "fold" marking right up to the fold and pin. Then cut out your pattern piece. Each pattern piece should say how many to cut.
For example, the Bodice front may say "Cut 1 on fold" but the sleeves may say "Cut 2 on Fold". Make sure to pay attention.
You'll also need to cut out a neckband. Usually there is an extra cutting chart with measurements either on the pattern pieces or on the instructions. In this case, they are on my pattern pieces.


Want to learn to sew with your serger? Check out this great Serger Basics Course
Step 3
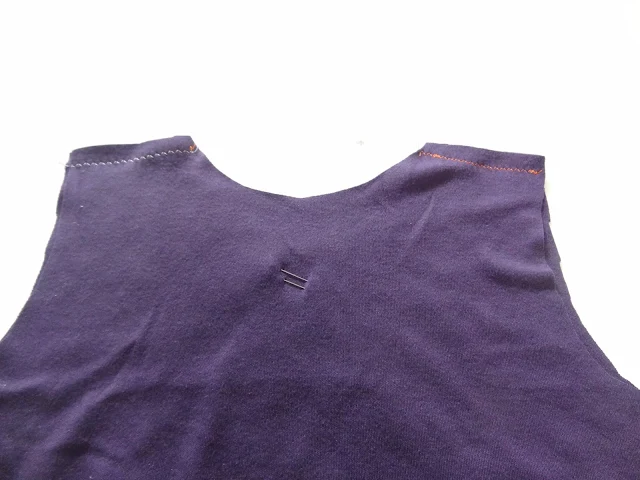
Now we sew! With Right Sides Together (RST), match the shoulders of the front and back bodice. Pin both of the shoulders and stitch across with a zig zag, stretch stitch or on a serger.
Step 4
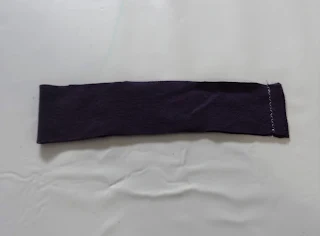
With RST, fold neckband in
half matching the short sides. Stitch
down the short sides. Fold the neckband
down so that wrong sides are touching and you now have a circular band. Press

Step 5
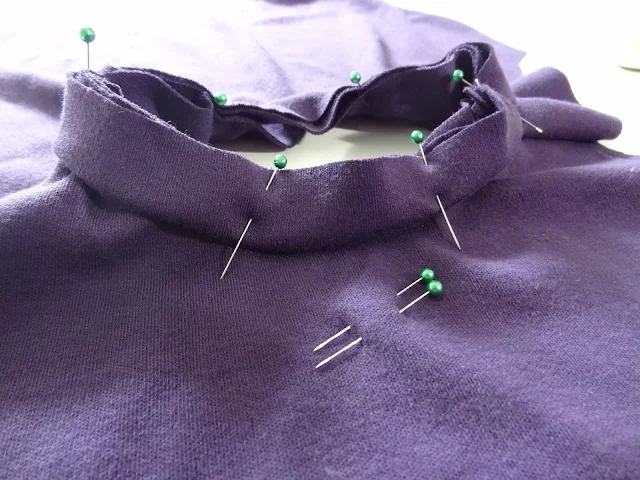
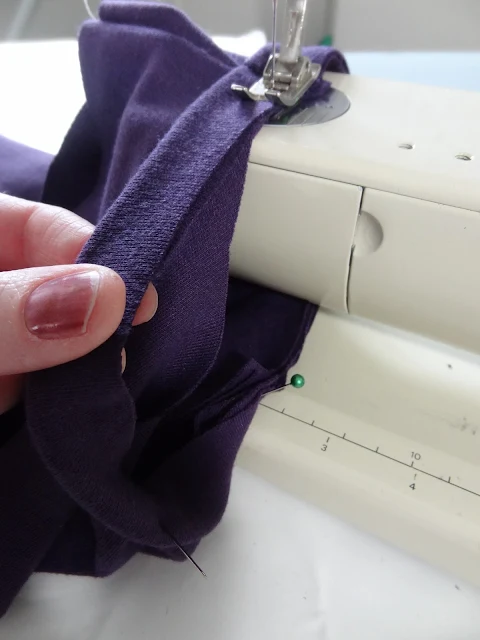
With RST, place neckband over
neck edge of the top. Match the seam of
the neckband to one of the back bodice seams.
Find the middle of the neckband and match it to the opposite front
seam. Pin rest of neckband in
place.

Step 6
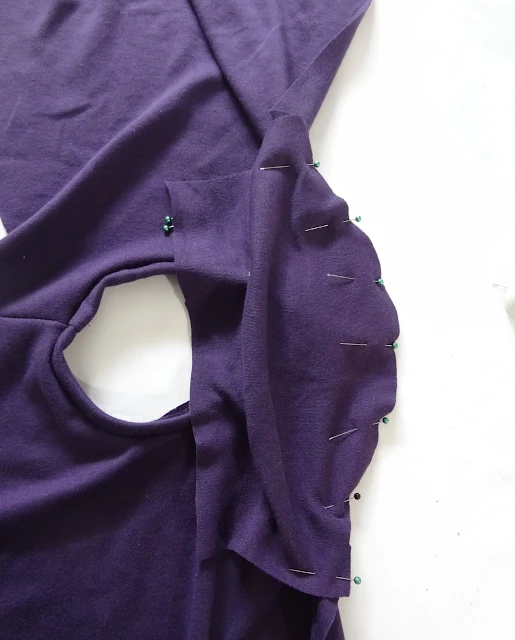
With RST, pin the center of the sleeve on the shoulder
seam of the bodice. Pin the sleeve to
bodice matching the sleeve and bodice as you go. Stitch across the sleeve from one side to the
other. Repeat with opposite sleeve.
Step 7
Turn bodice so that right
sides are together. Match side seams and
sleeves. Stitch down the side seam. Repeat with opposite side.
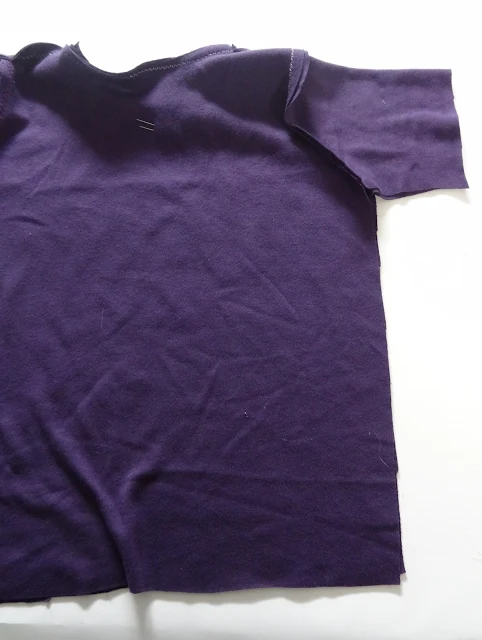
Now is the time you'll want to switch to your double needle. The double needle gives a really nice finished hem look. If you don't have a double needle, you can use a zig-zag stitch to finish all your hems.


Step 9
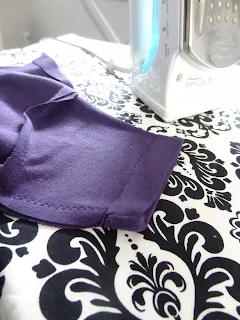
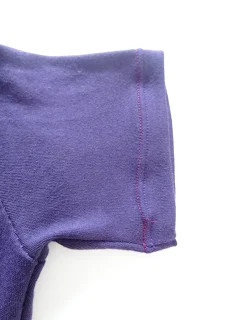
Fold the edge of the sleeve
up ½” and press. Stitch around
the hem using a double needle. Repeat with opposite sleeve.
Step 10
Turn the bottom edge of the
bodice up ½” towards the wrong side of the fabric and press. Topstitch around the hem of the bodice. Press.
Step 11
Turn neckband up and press
with iron. Using your double needle or
zig-zag stitch, topstitch around the neckband.

And you are done!!! Now if you still need a little help, check out the video below and you can watch to see how to sew a t-shirt sewing pattern.


