I love to make my children's clothes. Probably because I love to sew. But the hardest part is figuring out how to customize them. They always want a design or photo. That isn't always the easiest thing to do. But with my new Cricut Maker and Easy Press. It got a lot easier.
This is a sponsored post for Cricut but the content and opinions are my own. This post contains affiliate links to products I recommend. I do make a portion off any you may purchase. See full disclosure here.
If you are familiar with these products, let me share.
The Cricut Maker is a cutting machine that cuts paper, vinyl, fabric. You name it, it could probably cut it.
The Cricut Easy Press is a heat press iron. It has different heat settings that are used to adhere iron on, or heat transfer vinyl, to fabrics.
Both of these are great products. I've been playing with them for a couple weeks. I've really enjoyed them both and highly recommend them if you are in the market.
Do you have to have these to successfully create a custom design.
No! There are tons of ways to customize clothing. However, today I want to share how I use Iron-On Vinyl to customize clothing.
How to Add Iron-On Vinyl to T-shirts
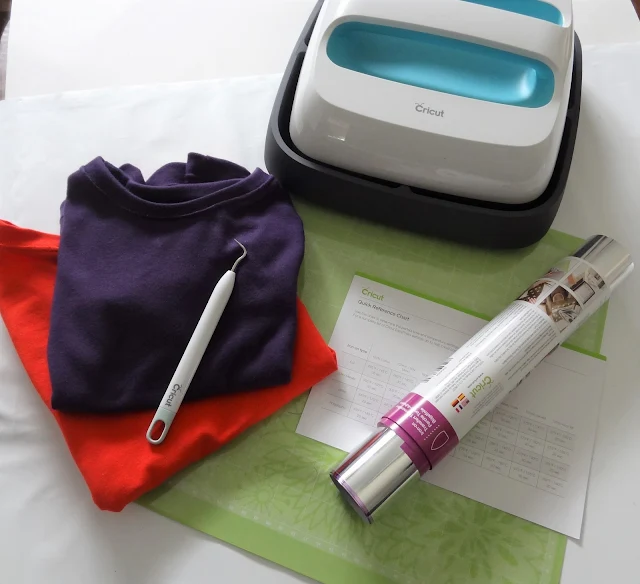
Materials Needed
- Solid T-shirt OR If you don't have a t-shirt on hand but want to sew one up, check out our Step-by-Step Guide to Sewing and T-shirt.
- Iron On Vinyl (HTV)
- Cutting Mat
- Weeding Tool Kit
- Cricut Maker
- Cricut Easy Press
Step 1
Open up Design Space. Search for the SVG file you'd like to use. Click on the file and then select customize. This will allow you to change the size of the cut file.
Step 2
Measure your t-shirt and decide how large you will want your design. You can change the width and height of the design up at the top of your design space screen. You can also add or subtract to the design on this screen. Once you are ready click "Make"
Step 3
Now is the important part. Make sure you click the "Mirror" button. This is only the case when using Iron-On Vinyl. If you don't, your image will be cut the wrong direction. This isn't a huge deal until you try cutting out words and realize that the name is cut out backwards. You can't fix that. So let's just remember to cut it mirror. Select continue.
Step 4
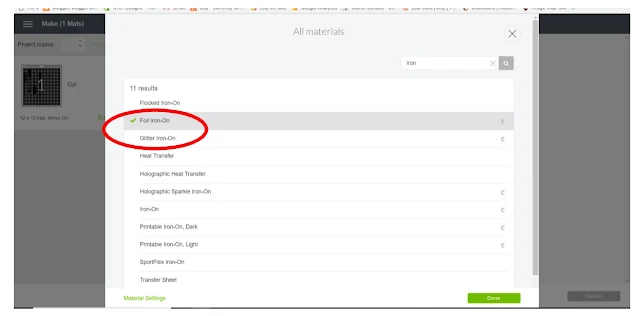
At the point, make sure you've connected your computer and your machine. The computer and machine will sync up and then it will ask you to select a cut material. You can select Iron on Vinyl, however, you can be more specific like Foil Iron On. This does make a difference.
Step 5
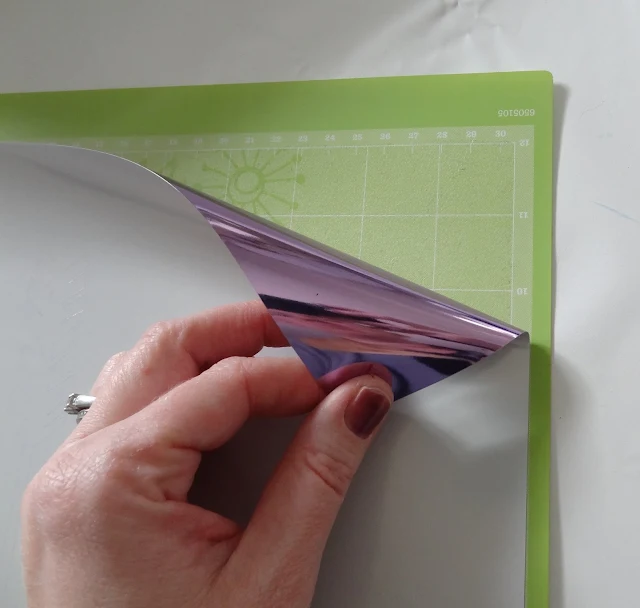
Place your Iron On Vinyl on your mat. Make sure the clear sheet is facing down. Which typically means that the "ugly" side is facing up. The clear sheet is what will protect the vinyl from your Easy Press. So make sure you cut it the correct direction.
Step 6
Place your mat in the Cricut Maker and follow the prompts on your screen to cut out the design. while your waiting, preheat your Easy Press or iron.
Step 7
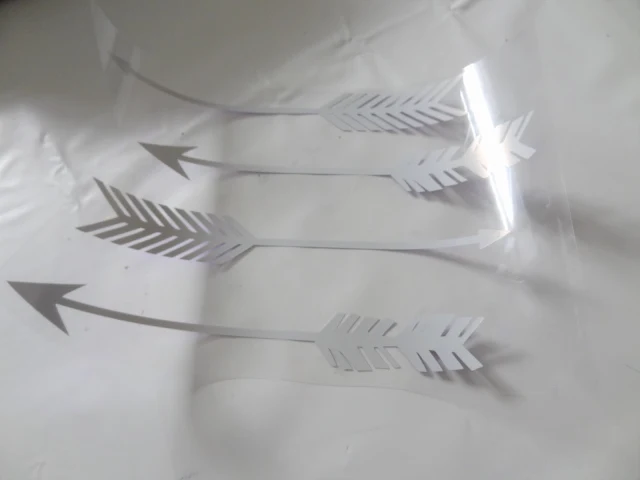
Remove your design from the mat. Weed out your design.
Step 8
Grab that t-shirt and preheat where your design will go. For about 10-15 seconds.
Step 9
Place your design on your t-shirt. The nice thing about Iron On is that you can remove it and move it around until you are ready to press. It won't catch and stick like regular vinyl.
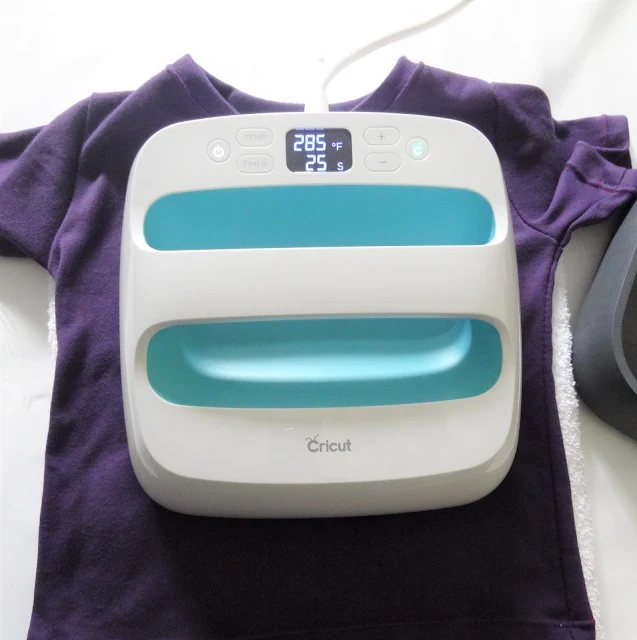
Once you have it where you want it, use the Easy Press or iron to press it. Usually between 25-35 seconds, depending on the type of vinyl. If your design is too large, you may have to move the Easy Press and press a second time to make sure everything was heated well.
(Make sure to check your cheat sheet that comes with your Easy Press to know what temperature to press at . Or you can check out this free one.)


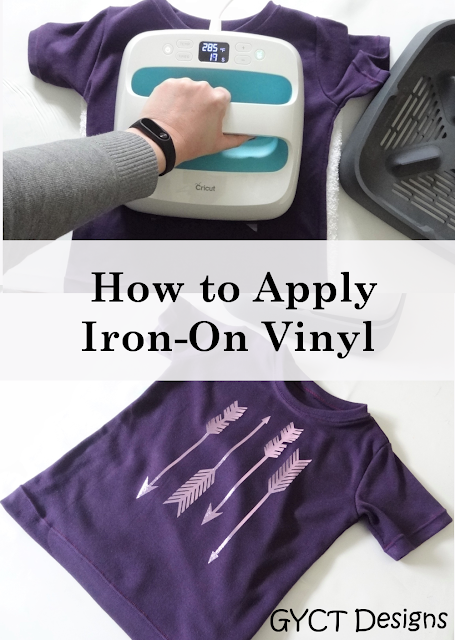
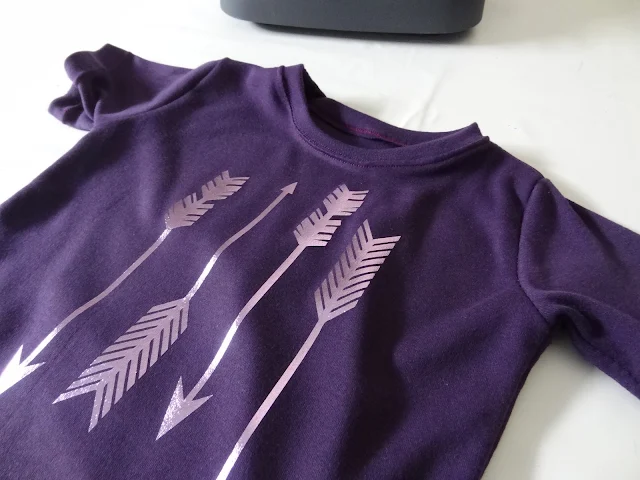
And you are done!!! Doesn't it look great! And not a soul would believe that you did it yourself. That is the beauty of customizing handmade garments. They look so polished and beautiful. Your kids will love them and everyone will be asking for you to make them something.
But don't worry, you don't have to make anyone anything unless you want to.


