If you didn't already know, we live out in the country. We made the switch a little over 2 years ago. It's been wonderful, but also a challenge.
However, my almost 2 year old has jumped in full force. He is a regular cowboy. He loves the chickens, the dogs, the foxes that eat the chickens, the mud and dirt.
He especially loves the tractor and playing with the hose. Naturally, he needed a diy western shirt to complete his farm life love.
This post contains affiliate links to products I recommend. I do make a portion off any you may purchase. See full disclosure here.
I was super excited when Gemia from Phat Quarters asked me to join the Hank and Clementine Fabric Tour and I saw the beautiful fabrics, I knew EXACTLY what I wanted to make a free western shirt pattern.
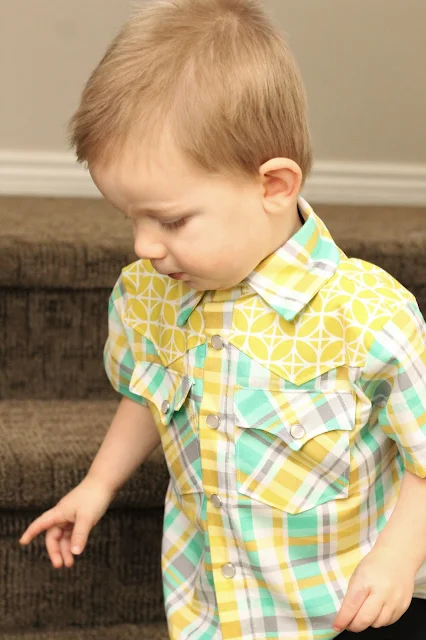
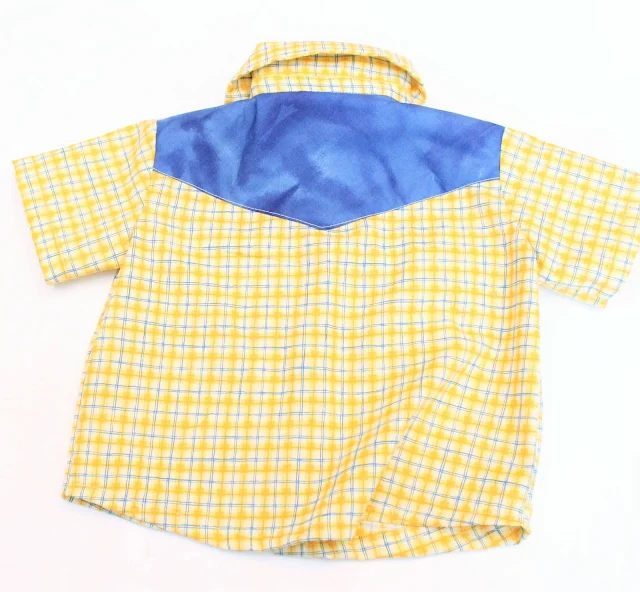
Let me introduce you to the Owyhee Western Shirt created with the Hank and Clementine fabric line by Swirly Girl and Michael Miller Fabrics.
Isn't it the cutest and most western thing you've ever wanted to create?!
Okay, maybe not. But just maybe.
The Owyhee Western Shirt was inspired by my father in law, Joe. He loves wearing western style shirts along with Bolo ties.
My little man ADORES his Grandpa Joe. I actually started this pattern 4 years ago, but never finished it. I looked at it, edited it, had baby #2 and stopped working on it.
I tried again about 6 months later, but got super busy with the youth in our church. Then we moved, had baby #3 and I quit blogging and designing all together.
But it was always on my mind. And once I saw the fabrics from this line, I had to finish drafting it and surprise Grandpa Joe with this western shirt pattern.
I really wanted this shirt in particular to have that real western dress up feel, so I used Dirtz pearl snaps.
They were PERFECT!!
Classy but not to bedazzled. Gave it just the dressy feel that I wanted.
And I have to say, I'm in love. This is the perfect shirt for spring and is going in his closet until Easter. {Mostly so it isn't ruined before April.}
Since my little man is only two, I decided I needed to draft the pattern so I could get several years out of this toddler western shirt pattern.
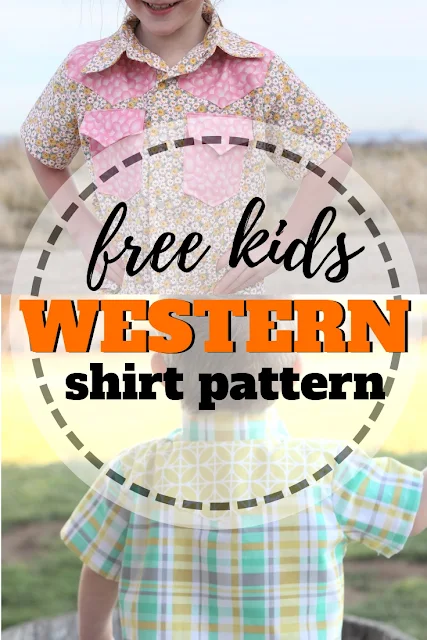
The pattern is drafted for sizes 18 month to 6 years. My daughter got one too and she also loves it.
Let's get sewing!!
DIY Western Shirt Pattern
Materials Needed
- Western Top Pattern - scroll to the bottom to get the pattern
- Fabrics suggested are wovens such as cotton, poly/cotton
- Fusible Interfacing
- 5-7 pearl snaps {I got mine here}
- Thread
Add interfacing to one side of each pocket flap, the collar, collar stand and about 1 1/2 inches on the wrong side of the bodice front center.
Step 2
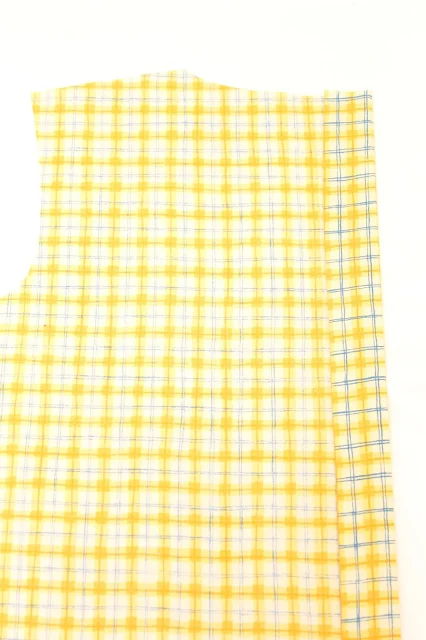
Fold the center front of the bodice toward the wrong side 1/4" and press. Fold again 1 1/4" and press. Stitch down both folds of the placket.
Repeat with opposite bodice front.


Fold the top edge of the pocket piece down 3/4". Stitch down about 1/2" from each side. Trim the sides.
Step 4
Turn the folded edge so wrong sides are touching. Press all the raw edges around the pocket 1/2".
Repeat steps 3 and 4 on other pocket.

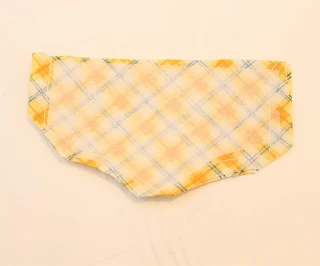
With Right Sides Together (RST), sew two of the pocket flaps together. Trim the corners and turn flap right side out.


Center pockets on both sides of the bodice front. Stitch around the pocket. Place the flap above the pocket and stitch the straight side down. Fold the flap down and topstitch over the folded edge.
Feel free to wait to do this step until the end of your sewing.
Step 7
For the front yoke, simply fold the bottom edges of the yoke towards the wrong side of the fabric and press. Match the front yoke to the bodice front and the shoulders. Stitch the yoke to the bodice along the folded edge of the yoke. Watch video 2 to see it better.

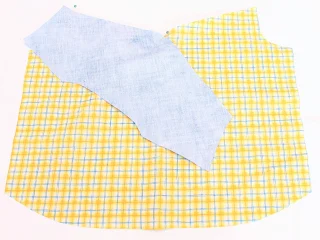
With RST, pin the back yoke to the bodice back matching the points. Pin one end of the yoke to the side point of the back. Pin the opposite side the same way.
Repeat with yoke lining piece. This time match right side of the yoke to wrong side of the fabric.
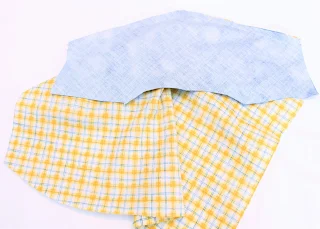

Stitch the yoke to the back, making sure to pivot at the point. Press and turn the yoke up.
Step 10
Pull the lining yoke away from the back. With RST, match the front shoulder seams to the back shoulders seams. Stitch across the shoulder seams. (Don't stitch across the lining yoke.)
Separate the two yokes. Roll the bodice front and back together like a burrito in between the two yokes.
Step 12
Match the two yokes together and the shoulder seam. Stitch shoulders seams together.
Step 13
Pull the bodice pieces out through the neck opening. Press.
Step 14
Fold the end of the sleeve up 1/4" and another 1/2". Press. Stitch across the top of the fold.
Repeat with opposite sleeve.
With RST, match the center of the sleeve to the shoulder seam in the armhole. Pin sleeve around the armhole. Stitch sleeve to bodice.
Repeat with opposite side.
Step 16
With RST, match the bodice front and bodice back at the side seams. Stitch down the side seam from sleeve to bodice hem.
Repeat with opposite side.
Step 17
Hem the bottom of the top by folding up 1/4" and another 3/4". Press and stitch.
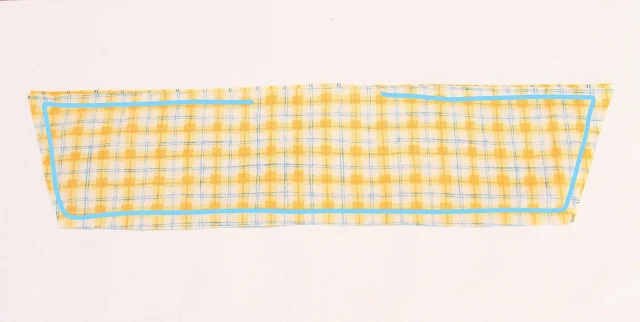
Place the collar pieces with RST. Stitch together like the above photo.
Step 19
Trim the corners of the collar. Turn collar right side out and press.
Step 20
Sandwich the collar in between the two collar stand pieces. Match the rounded edge of the stand to the short straight side of the collar. Stitch from one end of the COLLAR to the other. Leave the extra 1" or so of the collar stand unsewn.
Open up the two collar stands. Pin one stand to the neckline of the top. The stand should hang over the edge about 1/2" on either side.
Stitch stand to the neckline. Leave the last 1" on each side unsewn.

Fold the collar so the two collar stands are now together. Stitch the remaining inch of the collar stands together and around the edge.


Step 23
Turn the collar stands right side out. Press well. Fold the remaining unsewn edge up 1/4" and press. Stitch around the entire collar stand to close the collar.
This can be a confusing process. Check out the YouTube videos in the post. They'll show you exactly how to do these steps.
Add your snaps or buttons. Evenly space them along the front of your top.
You did it!!
I'll admit there are a lot of steps to sewing this pattern. But in the end they are all worth it.
Each of the shirts I've made have come out adorable!!
Plus, I've got 2 videos on my YouTube channel that will show you how I sew them up myself.
Want the Owyhee Western Shirt Pattern? Simply click the button below to download

