Anyone else have ridiculous amount of ponies and princess toys at their house? Or even dinosaurs and cars? We are so fortunate as to have both. {Slight sarcasm here people.}
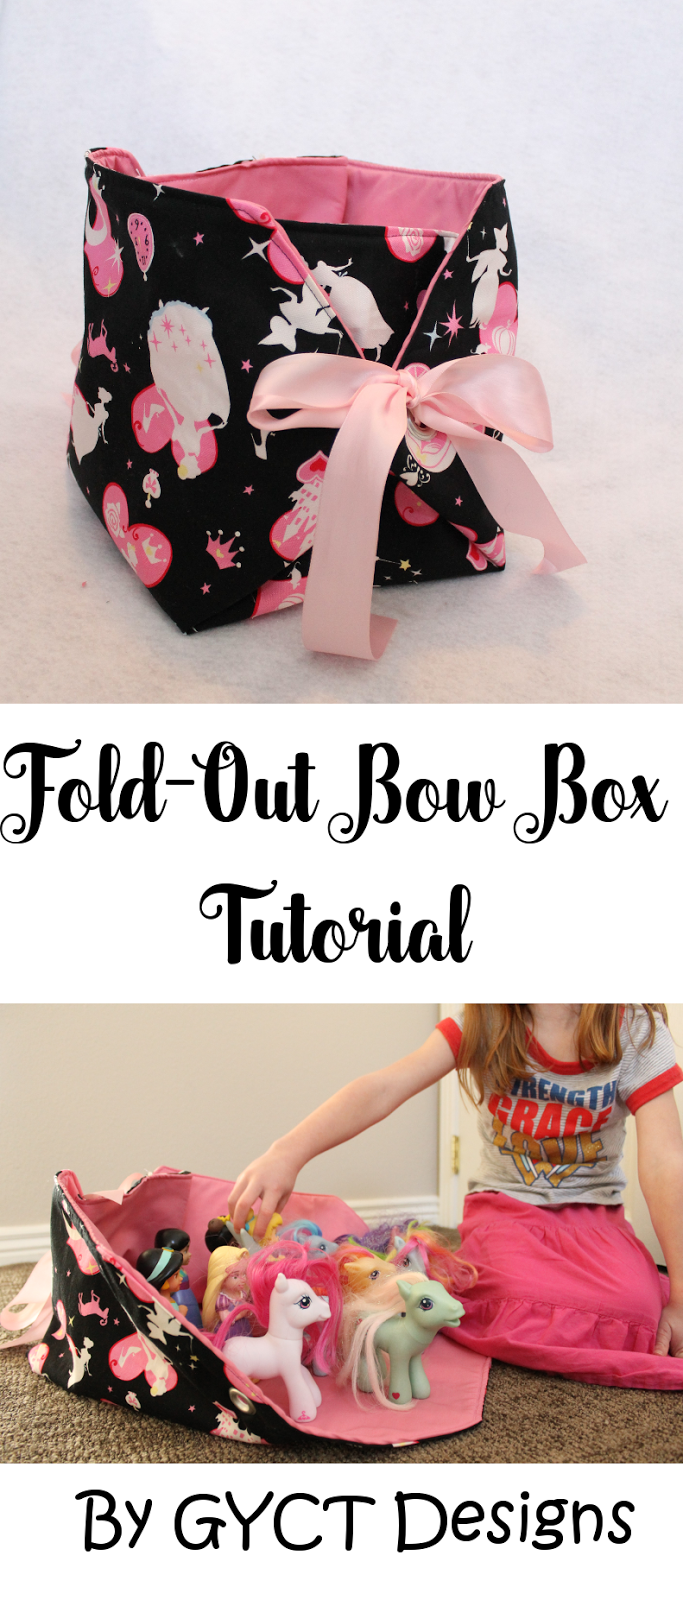
But really....there's a lot of them and they needed a better home. Enter the free Fold-Out Bow Box pattern to the rescue.
This post contains affiliate links to products I recommend. I do make a portion off any you may purchase. See full disclosure here.
My 5 year old wanted to put them on the shelf in her closet and I wanted them to be accessible and still have a cute way to decorate her room. That is how the Fold-Out Bow Box Tutorial was born.
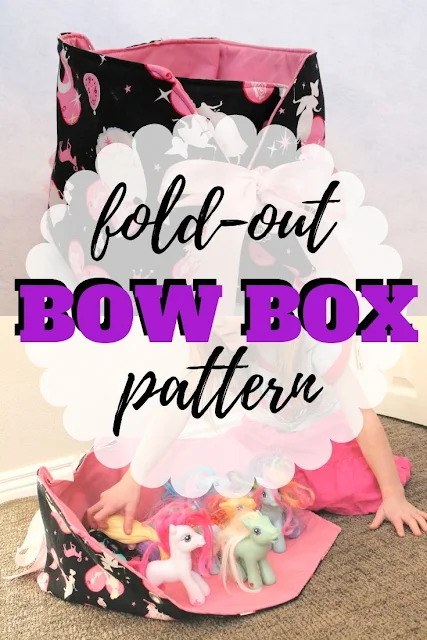
See look how nice those ponies look in their new home. It folds out completely flat or you can have just one side open.
Materials Needed:
- Fold-Out Bow Box PDF Pattern - download at the end of the post
- 1 yard of main fabric
- 1 yard of lining fabric
- 1 yard of thick interfacing or thick felt (I used felt)
- Thread
- 8 extra large eyelets
- Grommet tool kit - which you need to attach the eyelets
Step 1
Cut out Fold-Out Bow Box Pattern in main fabric, lining and interfacing/felt.
Once they are cut out, with Right Sides Together (RST) place the main fabric and lining fabric together. Then add the interfacing/felt layer over the top of both.
Stitch all 3 layers together using a 1/2" seam allowance. Make sure to leave a 3-4" opening so you can turn your box right side out.
Step 2
Trim corners. Now turn the box right side out through the 3-4" opening.
Step 3
Press your box. Topstitch around the entire box.
Step 4
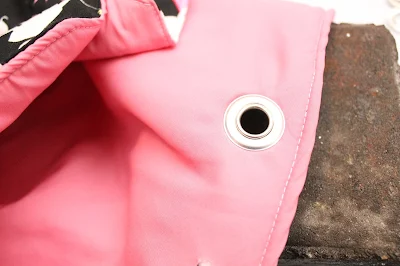
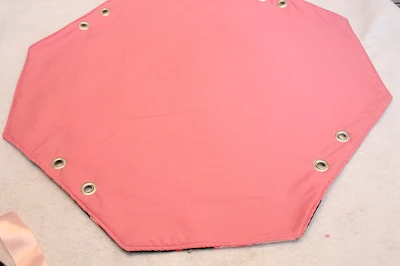
Using your pattern as a guide, mark where you will place each of your eyelet grommets. Take scissors and cut out a small circle where each of your markings are. This will help the grommet to go in easier.
Step 5
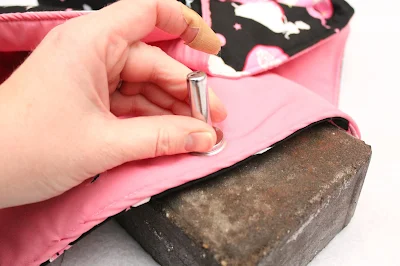
Follow the instructions on the package of your grommets to install. Use a nice brick or solid piece of wood underneath to get the proper set.
Step 6
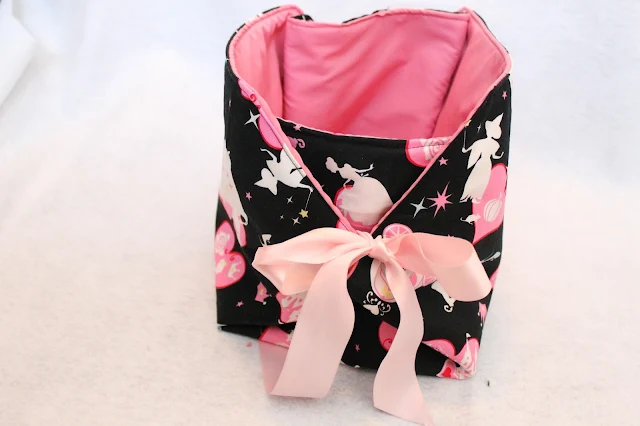
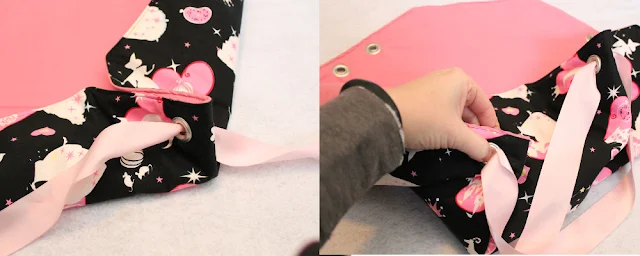
Grab a piece of ribbon and loop it through two of the grommets like the picture below. Then take the next 2 grommets and look the ribbon through the same way.
This will ensure that the 4 grommets are all stacked in a row on top of each other.


You did it! Isn't it so cute!
I seriously am in love with this box. And so is this cutie pie!
I'd love to see your creations. Download the pattern below and then make sure to join our Sew Simple Home Facebook group or share on instagram and tag @sewsimplehome.








I have a thought. Maybe DON’T steal someone else’s exact pattern?
ReplyDeleteI'm sorry you feel that way. I've seen foldout boxes like these for years. Did some research and created my own version. Much like any pattern in the sewing industry, they all look very similar but aren't exactly the same
DeleteI love this idea, and have actually been sketching out something similar but haven't been able to get it to work out yet. This is so much better than what I was thinking. How big is this when its sewn and finished?
ReplyDeleteBrooklyn, the finished box is 9x9. However, if you print the pattern down or up in scale you can change the size of the box to fit your needs. Can't wait to see what you make.
DeleteI love it - how disrespectful when someone has gone to the trouble of making and posting a 'FREE' tutorial. Every pattern originates from an idea inspired by a thought, or similar design they've seen, a variation, I don't think every time I see a pencil skirt that someone copied the original designer of the pencil skirt etc etc - Life is tough - be nice - it will make you feel better
ReplyDeleteChelsea, help. I can't download the pattern. What am i doing incorrectly?
ReplyDeleteI'm not sure why it isn't working. Send me an email at chelsea@sewsimplehome.com
DeleteI love this design. I had never thought of using it to store the small toys for my granddaughters and this is absolutely perfect. I will be sharing this pattern with my daughter for sure. Thanks for the post.
ReplyDeleteI think this would make a great gift box, too. Fix it up just like the paper gift bags using lots of tissue paper.
ReplyDeleteThat is a great idea! Thanks for sharing
DeleteHi, What a lovely pattern. Great for Grandaughters birthday & Christmas. Sewing Machine -Here I come. Jenny K. Qld Aust.
ReplyDeleteI LOVE this box, it is so adorable and I'll make my first one for my neighbors little girl and then more for lots of things, it can be used for so many things. Thank you so much for the pattern and inspiration, it is so appreciated! Hugs!
ReplyDelete