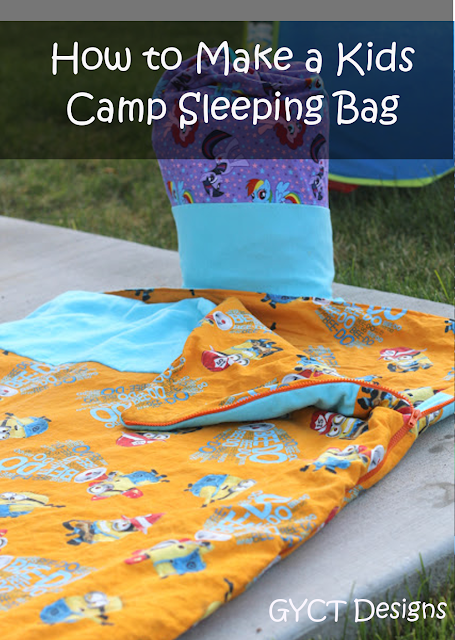
Summer is one of my favorite times of year. No school, a free calendar and loads of time to play in the sun. The last few years we have enjoyed time camping with family. However, the kids haven't had anything to sleep in and usually ended up in our sleeping bags. This year, I knew we needed a change.
This post contains affiliate links to products I recommend. I do make a portion off any you may purchase. See full disclosure here.
That is how the Kids Camping Sleeping Bag was born. I am happy to share. After shopping on Amazon and reading all the reviews on kids sleeping bags, I figured I could make one for about the same price and much better quality.
Materials Needed
Cut 2 - 30" x 45" main fabric panel and lining
Cut 2 - 30" x 14" contrasting fabric panel and lining
Cut 1 - 60" x 58" batting or fleece fabric ( I used Warm and Natural)
Step 1
With Right Sides Together (RST), place the main fabric panel and contrasting fabric panel together and stitch. Repeat with other side. Place the two finished panels with right sides together and stitch down one of the side seams. Open and press flat. Repeat with lining pieces.
Step 2
With RST, place the main sleeping bag and the lining sleeping bag together. Lay flat on the ground. Place the batting or fleece pieces over both pieces.
Step 3
Open up your separating zipper. Decide which of the zipper will go on which side of the sleeping bag.
Step 4
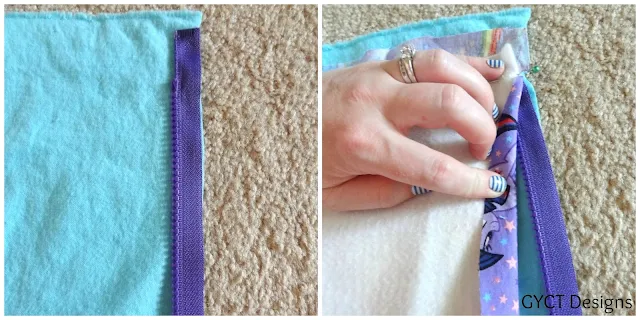
Fold over batting and lining piece of the sleeping bag so the main piece is visible. Place the zipper down the side edge of the sleeping bag with the teeth on the inside. Fold the batting and lining piece back over the zipper. Pin in place. Using your zipper foot, sew down the side seam until the end of the zipper. Repeat on opposite side of the bag.
Step 5
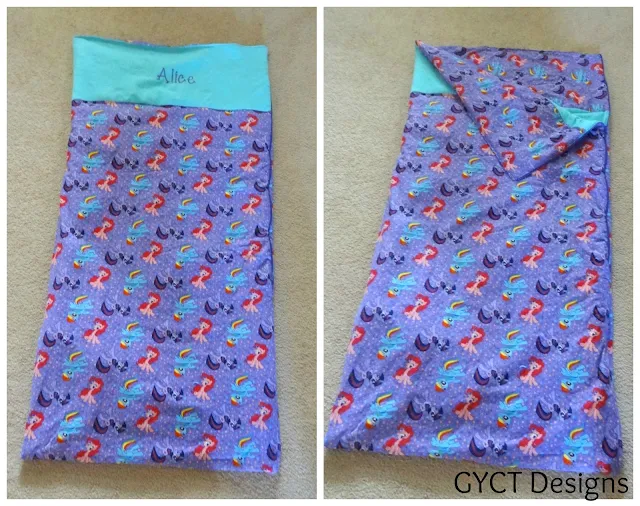
Open the sleeping bag now so that the two zipper sides are down center front, the outside of the bag is on one side and the inside on the other. (See above) Zip the 2 sides of the zipper together. Lay bag flat. Pin around the bottom edges of the bag and up the side seams. Stitch along those edges closing the bag up. Follow lines in above picture.
Step 6
Carefully match up the front of the sleeping bag and the back of the sleeping bag at the very top. (The bottom edge of the bag will still be separate from sewing Step 5.) Stitch along the top edge of the bag leaving a 5-6" opening so you can turn the bag right side out.
Gently pull the sleeping bag right side out through the opening. Topstitch along the top edge to close the opening.
Optional: You may wish to topstitch along the stitching line between the main fabric and contrasting fabric to help keep the lining and batting from moving. You may also wish to topstitch along the zipper to keep from the zipper catching.
There you have it. Your own Kids Camping Sleeping Bag. This is great for sleepovers around the house, or add a heavier batting for colder conditions.


Thanks for the pattern, just can't wait to get started. I have 3 grands starting pre school.
ReplyDeletenice
ReplyDeleteI wanted to thank you for this excellent read!! I definitely loved every little bit of it. I have you bookmarked your site to check out the new stuff you post. Best Double Sleeping Bags
ReplyDelete