Have you ever wondered what a pattern meant when it said something like "finish the seams" or "use your favorite seam finish"? Well, today I am bringing home a post I previously posted over at Sew McCool. We call it Seam Finishes 101. Hopefully we can help enlighten you and teach you a few things about seam finishes.
This post contains affiliate links to products I have used and highly recommend. I do make a portion off any you may purchase. But I wouldn't link to them if they weren't awesome! See full disclosure here.
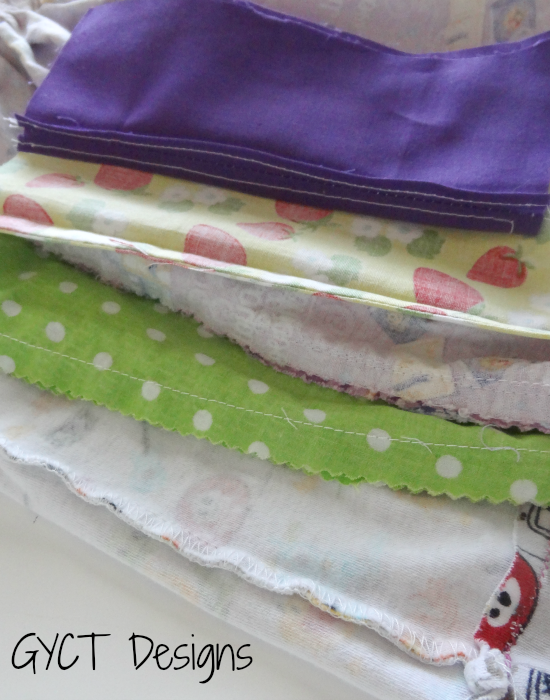
A Seam Finish is applied to the outside edge of the seam allowance. It can be cut, covered or sewn to prevent the seam allowance from fraying. We often think of seam finishes as being used on woven fabrics because they fray easily. However, seam finishes can also be applied to knit fabrics. Seam finishes aren't just for preventing fraying, they also add a professional look to any finished garment. Some seam finishes can be applied during the sewing process, others can be applied at the end of the process. It just depends on what type of finish you use.
Today we are going to focus on some of the most basic seam finishes used on woven fabrics. There are 5 that any sewist should know:
- Pinked
- Pinked and Stitched
- Clean Finished or Turned and Stitched
- Zig-Zag
- French Seam
The first step to completing a seam finish is to find your seam allowance. All sewn garments have a seam allowance. Adult garments usually have a 5/8" seam allowance and children's garments a 3/8" seam allowance.
Stitch the seam allowance then press the seam flat. Then open the seam allowance like shown above and press it open. Pressing sets the stitching into the garment. Pressing open makes all your seams flat and gives a very professional look. Now let's learn some seam finishes.
Seam Finish #1: Pinked
To make a Pinked Seam Finish you'll need your pinking shears . Pinking shears are the scissors with the teeth. Pinking the edges of your seam allowance will help stop a woven fabric from fraying. Simply use your pinking shears to cut down each seam allowance. Make sure not to cut to close to the seam so you don't end up making a hole in your garment.
When to use Pinking: This is a great seam finish to use on cotton quilting fabrics. I often will use my pinking shears to cut out my pattern. That way my seam allowance is already in place. Cuts back on a simple step. Pinking is also great when cutting out denim fabric that tends to fray a lot during the sewing process.
Seam Finish #2: Pinked and Stitched
Once again you will use your pinking shears. You'll cut along the edge of the seam allowance. Then simple open one of your seam allowances and sew a straight line next to your pinked edge. Repeat on the opposite side. Make sure not to sew the seam allowance to your garment.
When to use Pinked and Stitched: Pinked and Stitched seam finishes are great for fabrics that unravel easily. Or for really bulky fabrics. For example, you may use your pinking shears to cut out your project. When you come to finishing the seam, you can add a straight stitch to ensure the fabric doesn't unravel further.
Seam Finish #3: Clean Finish
A Clean Finish seam finish is also known as a Turned and Stitched or even a Single Fold. Press your seams flat and open. Then fold one side of your seam allowance towards the seam and press. Repeat with the opposite side.
Next, stitch down the folded seam allowance on both sides. This will hide the raw edge of the seam allowance and makes a very finished professional look.
When to use the Clean Finish: this is a great finish for light to medium weight fabrics. I love to use this finish when I am making tops from woven fabrics. Gives them a nice finish and keeps the seams from fraying too much.
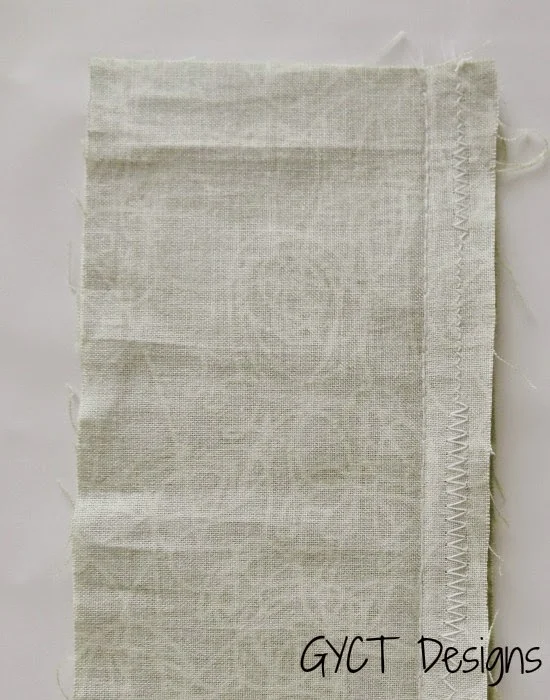
A Zig-Zag finish is probably one of my favorites. This is the first seam finish my students ever learn. It is fast, functional and user friendly. Anyone can make a zig-zag stitch. Simply stitch your machine stitch to a zig-zag and stitch down the seam allowance. You can stitch each side separately or your can stitch the two seams together. Totally up to you. You can also use whatever zig-zag you'd like and whatever stitch length. It is always smart to test the zig-zag on a scrap piece of fabric to see what size works best.
When to use a Zig-Zag Seam Finish: A zig-zag can be used on most fabrics. However, it is best used on those that don't fray to much or snag.
Seam Finish #5: French Seam
The French Seam is one of the prettiest seam finishes you can make. Place the fabric pieces with wrong sides together and stitch your seam allowance. Then press if flat and open. Next, fold the fabrics with right sides together and stitch down.
One important thing to remember about the French Seam is that it will change your seam allowance. So if you are suppose to sew a 5/8" seam you either need to add to the seam allowance when cutting out or stitch a smaller seam allowance to start with. For instance, below I stitch a 1/4" seam allowance when the fabrics were wrong sides together. When I folded it with right sides together, I then stitched it at 3/8". This gave me the 5/8" that I needed.
1/4" + 3/8" = 5/8"
When to use the French Seam: this seam is best for fabrics that fray a lot such as silky fabrics, lightweight or gauze like fabrics. However, you can use it on others as well. I often use it on kids pillowcase. It hides the raw edge and keeps it from fraying which is great when you are shoving a pillow in and out of a pillowcase often and wash often.
I hope this little guide to seam finishes has helped you. Seam finishes really do make the garment last longer through all the washings and wearings. They also give a garment a much more professional look. Find the one that works best for you and start sewing!


.png)


.png)


%2B(1).png)


No comments
I'd love to hear from you!