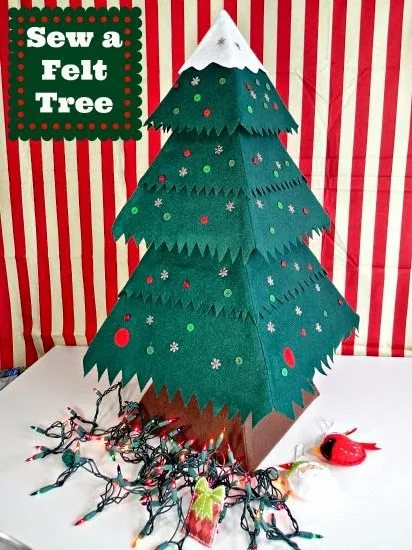
Excited to be part of So Sew Easy's Christmas in July Series. Make sure to check out the adorable Felt Tree Tutorial to add to you projects. Plus, there are TONS of other bloggers sharing their own felt ornaments. So go check out the series for sure.
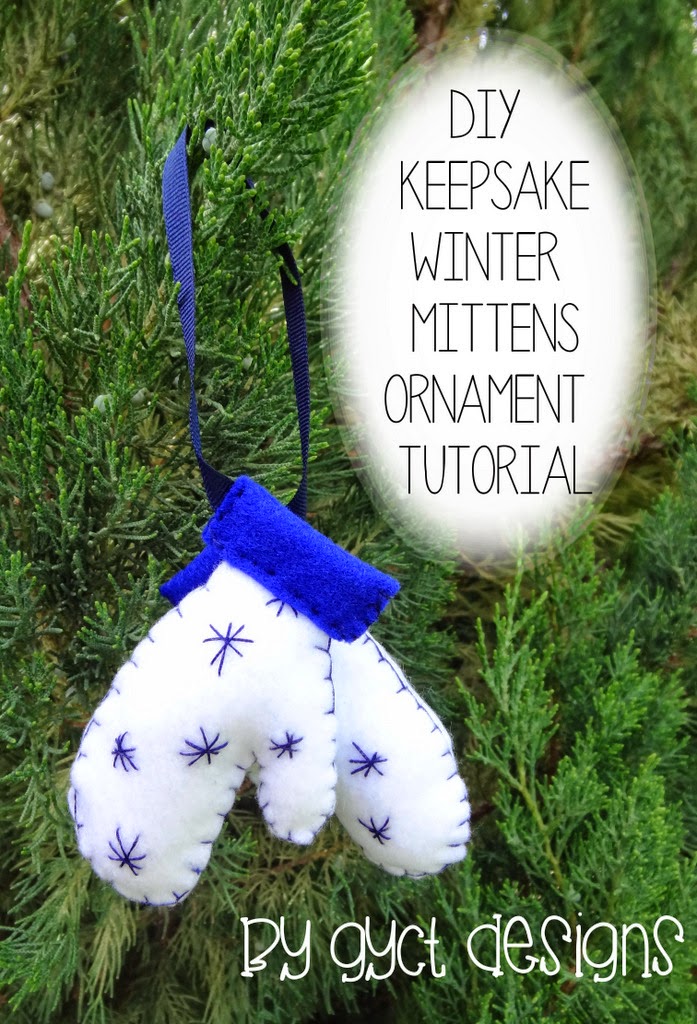
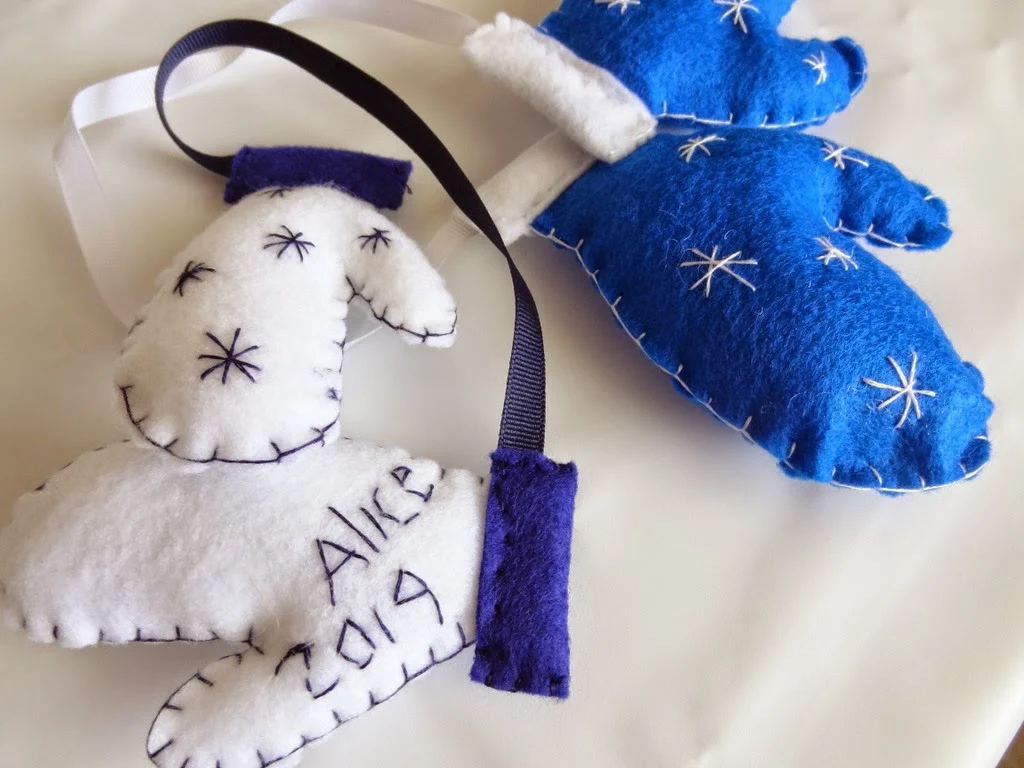
For my felt ornament, I decided to make some adorable Keepsake Mittens for my children. This is a fun way to keep them little forever.
Want the mitten ornament plus 4 other classic felt ornaments with full step by step photo tutorials and none of the hassel?
Grab the Fun and Festive Felt Ornament eBook for just $5.50. Includes 5 printable felt ornament patterns and photo tutorials. PLUS, a bonus felt holly and ivy garland pattern. No need to access the internet each time you want to make your own.
Materials Needed:
- 2-3 Sheets of Colored Felt
- 1 Pkg Embroidery Floss
- Polyester Fiberfill
- Ribbon
- Thread
Begin with your mittens. To make them special, I traced my two children's hands. That way we now have a "keepsake" ornament to remind us how little they once were. However, you can make your mittens whatever size you wish. Or grab our free mitten template.
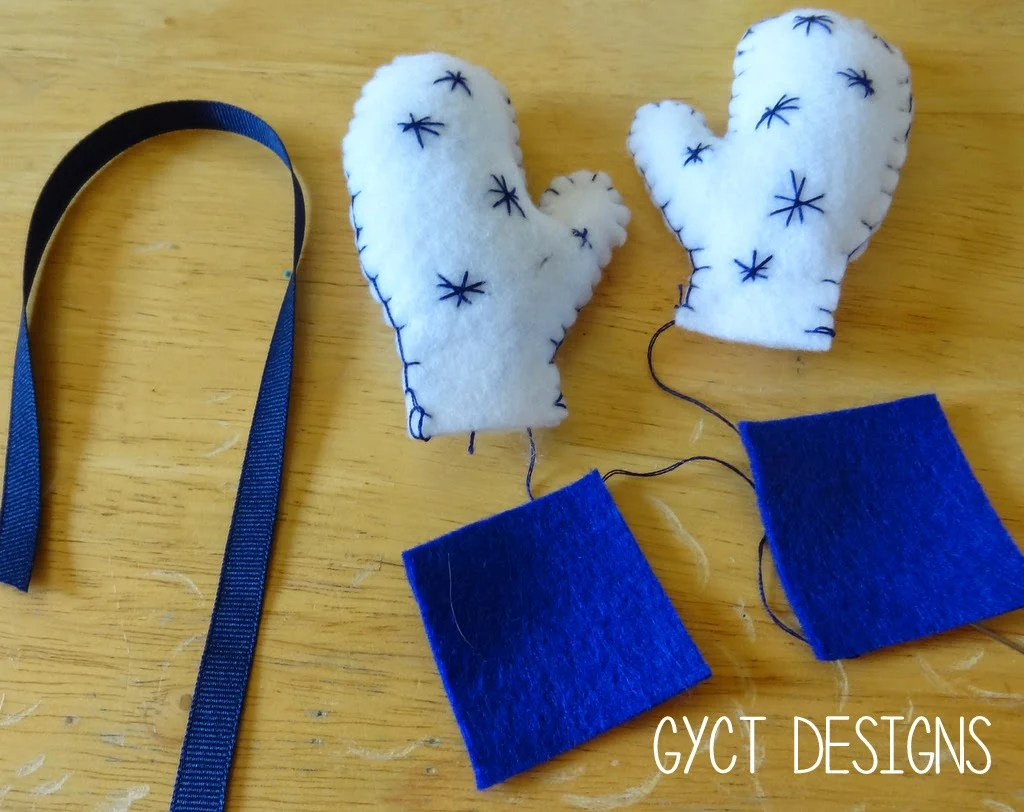
Next, cut out 4 mittens from your pattern. Two for the left and two for the right.
They should look like the above picture. Next grab your embroidery floss. Take one strand, unwind it and take from that 2 pieces of floss. Then thread your needle. You will be using a blanket stitch to stitch together your mittens. You can see below the basics of a blanket stitch.
Go around your entire mitten with the blanket stitch, leaving only the straight edge at the bottom open. Repeat with opposite mitten.
Take your fiberfill and stuff your mittens. You don't want them to puffy, but you do want some shape to them.
Next, you will make your "snowflakes". You can see the steps below. You'll make a straight stitch, come up and make a "t", and repeat. This will give the look of the snowflake.
You can also label your mittens with a name or the year.
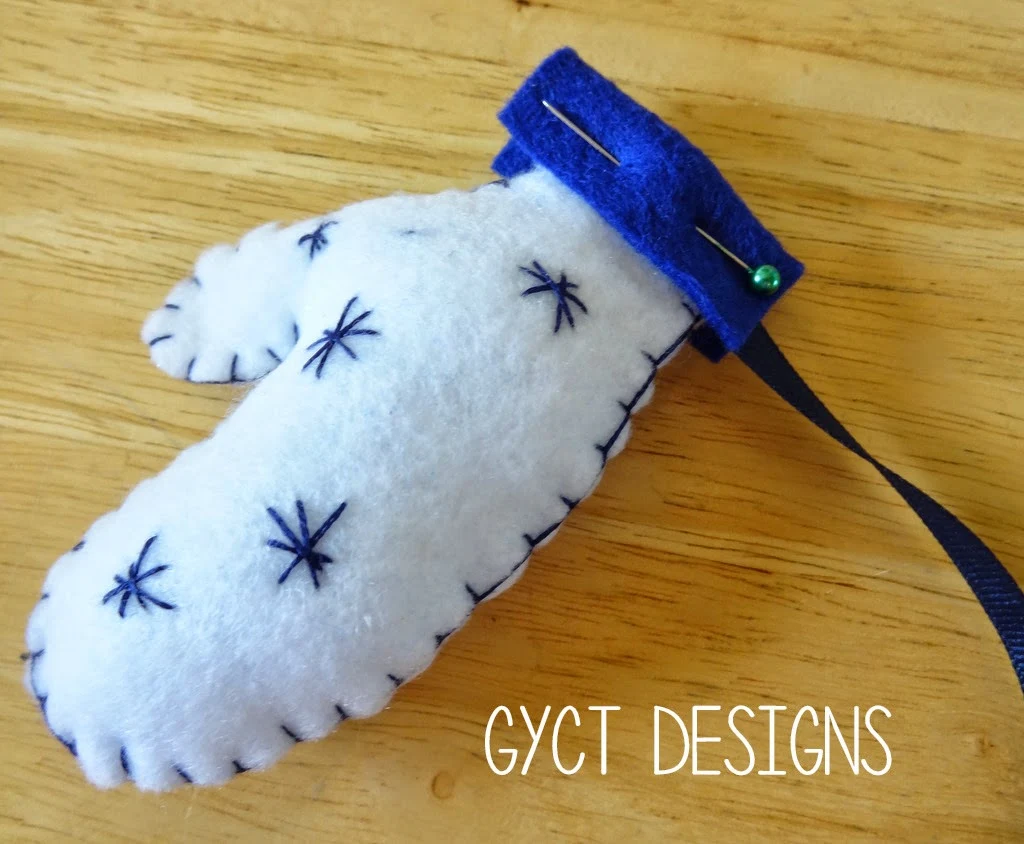
Now you will need ribbon and 2 square pieces of felt. These squares only need to be big enough to cover the straight edge opening on the bottom of the mittens.
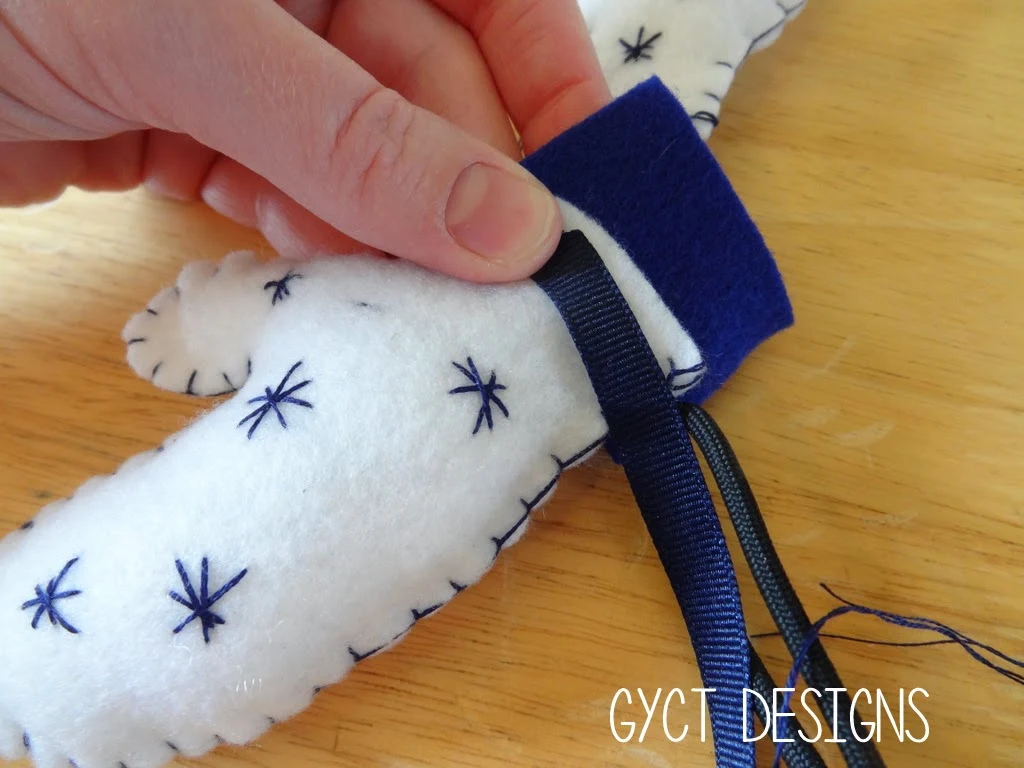
Place part of the ribbon across the straight edge of the mitten.
Place the square over the ribbon and on either side of the mitten opening. Pin in place. Carefully stitch around the square piece to close it and hold the ribbon in place.
Repeat with the opposite side. Now you should have a cute set of keepsake mittens.
If you don't want a pair, you could make single mittens and just make a single loop to hang on the tree.
Either way, it is a fun way to remember how small those fingers and hands were.
Grab the Fun and Festive Felt Ornament eBook for just $5.50. Includes 5 printable felt ornament patterns and photo tutorials. PLUS, a bonus felt holly and ivy garland pattern. No need to access the internet each time you want to make your own.

