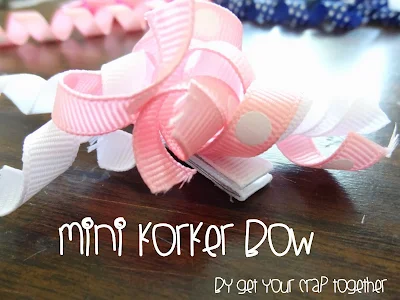
Have you ever made a Hair Bow? A few weeks ago we shared our Perfect Hair Bow Tutorial. Today we are going to share how to make Mini Korker Bows. Korker Bows are the bows with the tightly curled ribbon. Super cute and actually super easy!
Materials Needed:
Ribbon
Wooden dowels
Clothes Pins
Needle and thread
Hair Clip
Hot Glue Gun
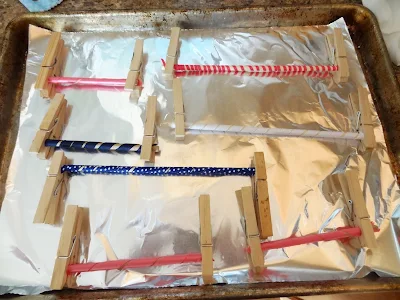
First, heat up your oven to 250 degrees. Meanwhile, gently wrap your ribbon around the wooden dowels. Secure them in place with the clothes pins on either end. If you want tighter or looser bows, you'll want different size dowels.
Place wrapped dowels on a foil lined baking sheet. Place in the oven for 20-25 minutes. Remove from oven and let them cool. Remove ribbon from dowels and they should look like the picture below.
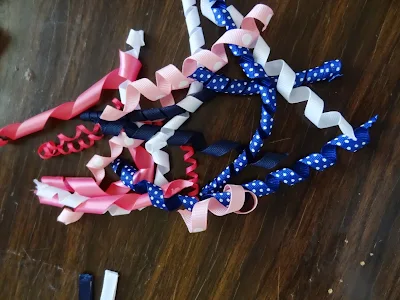
See, all curly and cute! You can see I used different size ribbon and different types too. Just to try it out.
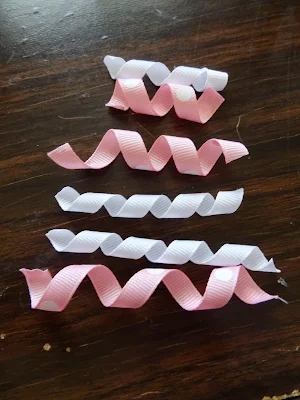
Next, cut your ribbon pieces. I have 3 different sizes: 3", 2.5", and 2". I cut a pink and a white in each color.
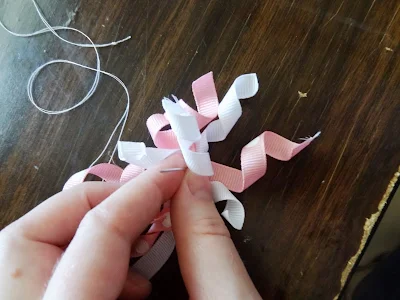
Thread your needle and put a knot in the end of your thread. Place your needle on a flat surface with the point sticking up (see above picture). Now place each of your ribbon layers through the needle, starting with the largest layer and moving to the smallest.

Next, pinch your layers together and pull your needle out. Continue to stitch your ribbon pieces together by taking your needle down the ribbon and back out. Do this about 4 or 5 times. Pulling tight!

Now, grab your clip. My clip is on the right in the picture above. I covered it in matching ribbon using my hot glue gun.

Place a dot of glue on the top of the clip and stick your korker bow on the glue. Carefully open you clip and place a dot of hot glue on the top inside of the clip. Take about a 1-2" piece of ribbon and stick the end to the glue.
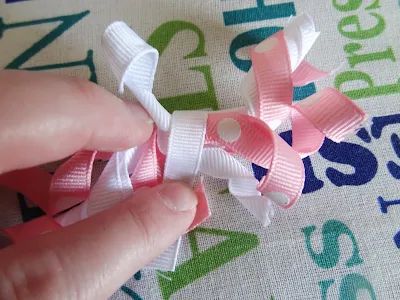
Take the end of your loose ribbon and pull it around the middle of your korker bow (as seen above). Pull it tight and bring it back to the inside of the clip. Glue to other end to the inside of the clip.

Make sure to burn the edges of each of your ribbon pieces so that they don't fray.
Now you are all done!
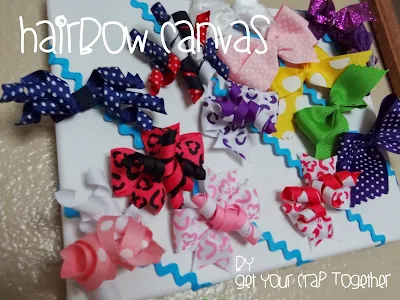
Now all you need is to make yourself Hair Bow Canvas to store your beautiful creations!


