Today we are going to start by getting your "command center" organized. To do this you need a place for all that "stuff" that seems to pile up everywhere. (I'm not the only one this happens to right?)
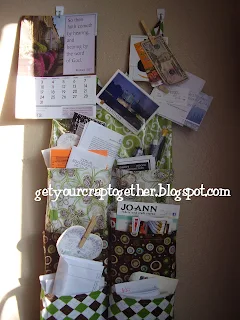
I made this great mail organizer a few years ago. I still use it today. In fact, the above picture is brand new. Just took it! That is how it looks in action!! Full of paid and unpaid bills, coupons, important papers, kid projects and random small things like rubberbands, a computer mouse, bookmark, etc.
--------------------------------
Does anyone else have some much junk that piles up in their kitchen? I know I should be be more organized so life doesn't end up like....
....this! Piles of papers and random stuff. (Totally embarrassing)
So I decided to put a little something together to help sort and store all the items that end up on the countertop.
I used my Pantry Organizer as a bit of inspiration. Check it out here.
What You'll Need:
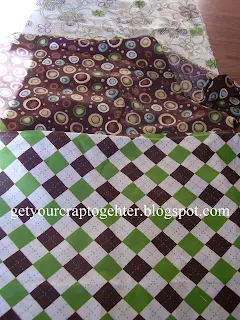
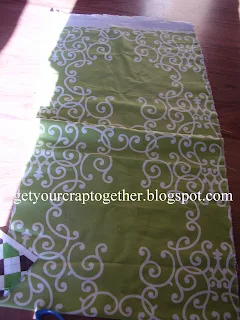
2 fabric piece 15" x 28"
3 fabric pieces 11"x 20"
1 plastic piece 11" x 10"
Interfacing
Thread
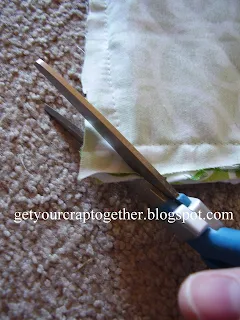
Cut out your 15" x 28" pieces and your 11" x 20" pieces.
Iron on the interfacing to the back.
Take the 11" x 20" pieces and fold them 1/4" and iron.
Fold again 1/4" and iron.
Sew the 1/4" down flat.
Next, take one of the 15" x 28" pieces and place your plastic about 3 inches from the top and center it.
Sew down the middle.
Now decide how many pockets you want. I made 3 for this layer.
Pin your plastic down in little pleats. This helps when you sew across the very bottom.
Leave the sides open for right now.
Once the top layer is done take the second layer and overlap it slightly on the plastic layer. Once again sew down the middle.
Continue to do the same steps for the other layers.
Sewing across the bottom of your pleats.
Love this layer.
Once all your layers are in, put your front and back pieces together.
Pin them and sew around 3 of the sides. You can cut off all the extra pieces on the side to help if you need to. Just make sure that you don't sew you "pockets" down on the side.
Trim all you sides and your corners and turn it right side out.
Attach a ribbon, string, or whatever to the top and sew across.
Now your done.
The first time I just sewed the ribbon on each side but I found that the organizer rolled a bit in the middle that is why I made 2 handles.
Look at all that room.
Now stuff it full of all the crap on your counter.
Just make sure you clean it out once a month at least.

------------------------
Thanks for joining us in our Sew Organized Home Series! Check out some of our other great posts HERE.


Nice tutorial! I'm always looking for great storage solutions. This would work great in my sewing room, too! - Deanna {sewmccool}
ReplyDeleteThanks Deanna! It is a great way to organize in almost any room of the house!
DeleteThanks. This will work just great.
ReplyDelete