


Today we have Irene from Serger Pepper! Make sure to check out her blog!!
_______________________________________________
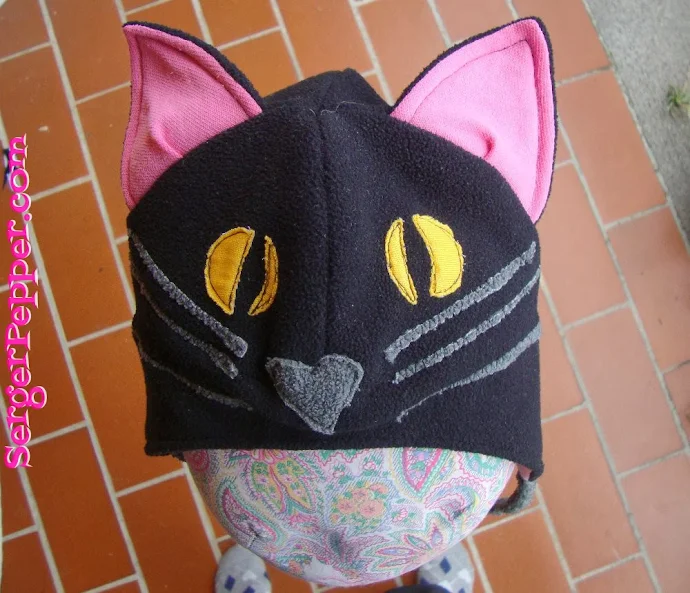
After the Black Cat Hat, I want to share one more useful yet Halloween-ish FREE pattern:
the Jack O' PinMe pincushion and Pin Sharpener

Materials:
- scraps of fabrics (I used a T-shirt, you can use anything you want... maybe red for tomato if you're traditionalist or whatever you like)- wool steel (the one you can find on the supermarket on dish-sponges shelf)

- scraps of fleece or felt on black and dark green (any kind of fabric that won't fray)
- thread, scissors, needle, sewing machine...
 Cut out shapes for eyes, nose and mouth from the black fabric and the leaf from the dark green one, following the provided template (or you can just eyeball it, it's not rocket science!)
 Sew in circle around the main fabric, Right Sides Facing, leaving a small gap to turn inside out your Pumpkin Pincushion and then to fill it.
 Fill it with steel wool, pressing well but leaving some room.
 Add some cushion filling (I cut apart an old but washed pillow) just to be sure your pincushion it's well stuffed and your pins will hold firmly in it
 Pin the gap closed, then stitch it by hand.
 You'll end with a "Lumpy Bumpy" cushion like this, don't worry!
 Fix it by squeezing, crushing and pinching it until you're satisfied - it's a good exercise for when you're upset too ;)
 Thread a hand needle with a green thread and put it double, then start sewing around the cushion, to make it look like a pumpkin; leave your thread tail on your upper side (where you'll add the leaf).
 Sew on the leaf, making a pleat on it to give shape, with the green thread tail you left, then found the right position for your Jack's face
 With black thread, sew on eyes, nose and mouth, placing them anywhere you like (check here how to applique by hand)
 I hope you liked my little tutorial, I wait for you on my sewing blog if you want to know more about me and my sewing tales!


Have a scary Halloween HeHeHeHeHeeeeee


.jpg)


No comments
I'd love to hear from you!