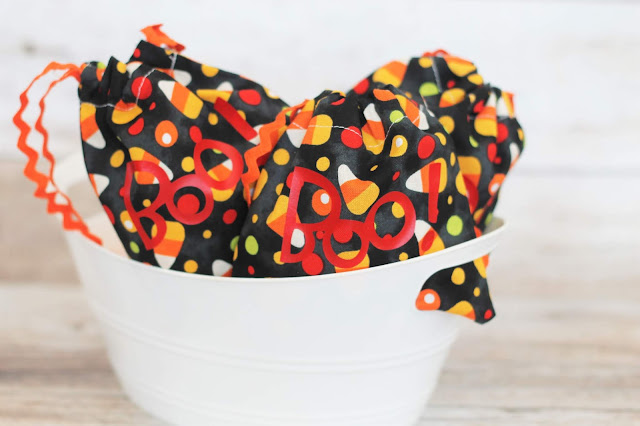
You might already know, but Halloween just happens to be the best time of the year at our house. We love to dress up, create fun projects and give out little gifts or crafts to others.
So it should come as no surprise that each year we try and top the last year with our project ideas. If you don't believe me, check out all these awesome projects we've done or had featured over the years. They should help give you some inspiration.
This post contains affiliate links to products I recommend. I do make a portion off any you may purchase. See full disclosure here.
This year as part of the fun, we needed some simple DIY Halloween treat bags to give out to friends and family. Of course we couldn't just go buy them! No, why not make them extra special with some fun fabric and our great Cricut Maker. They turned
How to Make DIY Halloween Treat Bags
Materials Needed
- Cotton Fabric
- Ribbon - 1/2" wide
- Thread
- BOO cut file
Step 1
Cut fabric into 5.5" x 7.5" pieces. You'll need 2 pieces for each bag. You can easily cut them in a stack if you have a rotary cutter and a self healing mat. It will go quick.
Another tips is to cut them with pinking shears or a pinking rotary blade so that all your edges are already finished and won't fray.
Step 2
With right sides together, stitch down and around the 3 sides. Leave a 3/4" opening on either side of the bag. You can see the lines drawn below with gaps where you should sew. These gaps will be used for the ribbon later.
You'll want to make sure to turn your corners. To do this you'll put your needle through your fabric and turn your fabric. This gives you nice sharp corners.
Step 3
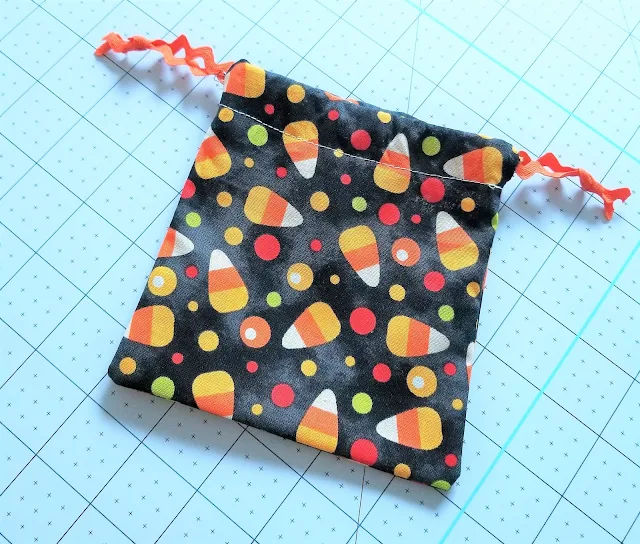
Turn the open edge of your bag down 1/4" and down another 3/4" to 1", depending on how wide your ribbon is. Press and than stitch around the bottom edge of your casing. Check out this post on how to make a casing for more info on casings.
Step 4
Clip your 2 corners to get rid of some bulk.
Step 5
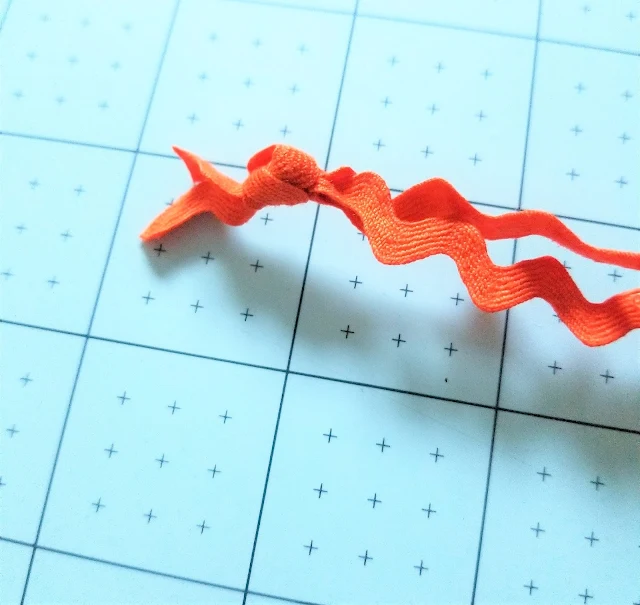
Cut 2 pieces of ribbon about 13" long. Place a safety pin on the end of your ribbon (or ric-rac). Thread your ribbon through one side of your treat bag casing. Thread the other ribbon through the opposite side of your casing.


Step 6
Tie the two ends of your ribbon together on each side. Then pull to make sure your bag will close.
You did it! See how simple that project was. Now you have some adorable DIY Halloween treat bags to give away to friends and family.
Take it one step further and add a fun iron-on vinyl decal to make it personalized or just as a decoration.
Check out some of these other fun DIY Halloween Treat Bags like these embossed bags, or quick treat bags or these stamped bags.


