When my husband and I bought our first home over 10
years ago, we were fortunate enough to live in a great little community that
was FULL of families that had a lot of young children. It was the perfect place to start our little
family. One of my favorite parts about
our community was the fact that everyone decorated for the holidays, even my
favorite, Halloween.
One of our first Halloween’s we had very little
money and almost no decorations and I decided to create this fun witch shoe
template to make and hang on our door. I
wasn’t really sure when I started whether I would like this project or
not. But as I created and picked
fabrics, I fell in love with our little witch boots. Some years she’d hang up on her own on our
front door, others she might have a sign or wreath with her, but her place
always remained the same, on our door.
10+ years, 3 kids, 2 houses and countless chickens
later and I still have these fun witch shoes hanging up each Halloween. They can’t go on the outside of the door
anymore because the wind won’t allow them to stay put. So they hang on the interior of our front
door. She reminds me of those first
Halloween’s and all those Halloween parties with my little babies and
trick-or-treating. We've added to our Halloween decorations over the years, but these witch boots will always have a special place in my heart with so many fun fall memories.
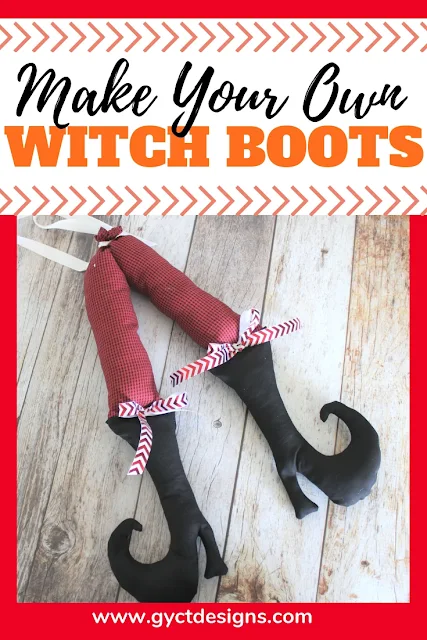
This year, I wanted to make some new witch boots. My old ones are still looking
great, but I had a couple ideas for some new ones. So I busted out the old witch shoe template
that I still happen to have. Did a bit of updating to the template and
today I wanted to share the new update with you!! This shoe template is perfect for
making your own shoes or boots. But it
makes a great appliqué pattern as well to use on t-shirts or sweatshirts.
Materials Needed
½ yard black fabric for
shoes
¼ yard fabric for witch
socks
Ribbon
Poly Fiber-fil
Thread

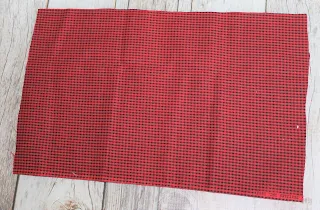
Step 1
Cut out 4 witch shoes, 2
for the right and 2 for the left. Make
sure they are mirror images of each other so you get a right and left shoe.
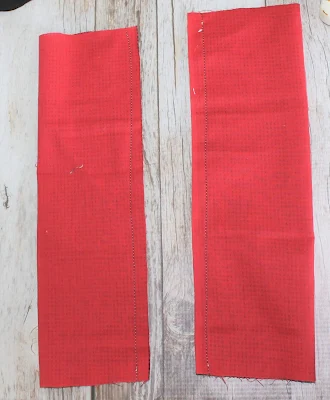
Also, cut out 2 – 6.5” x 9”
for the socks. Pick a color that will
stand out for the best results.
Step 2
With Right Sides Together
(RST), fold the socks in half matching the long edges. Stitch down that long edge. Make sure to leave both short sides open.
Step 3
With RST, stitch the right
witch shoes together using a ¼” seam allowance.
Carefully stitch around each of the curves and put your need down in the
corners and turn for the best results when turning in step 5.
Repeat with the left
shoes.
Step 4
Clip around all the
rounded edges of the shoes and clip the corners. This will help the shoe to turn right side
out and look nice and crisp around those curved edges. It will also help get rid of some of the
bulk.


Step 5
Turn the socks right side
out and press.
Turn the shoes right side
out. This will take a bit of time to get
all the edges turned out. Use a small
wooden dowel or chopstick to help push all those edges out and corners. Press.
Step 6
Use the Poly Fiber-fil to stuff
the shoes. You’ll want to stuff them so
they will keep their shape but not so much that they are to heavy to hang.
Tip: My first boots I stuffed with grocery
bags! If you don’t have fiber-fil, look
around and see what you can repurpose to stuff your witch shoes.
Step 7
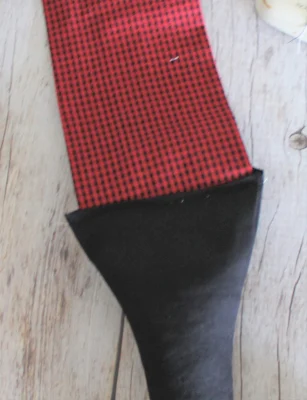
Fold the raw edge of the
shoe towards the wrong side ¼” and press.
Place one of the socks inside the shoe and stitch across the top of the
shoe to close the shoe and attach the sock.
Step 8
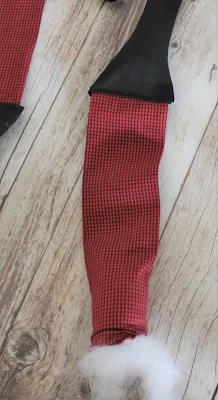
Stuff the sock with
fiber-fil (or grocery sacks). Repeat
step 6-8 for the opposite shoe. Make
sure not to overstuff or you’ll have a hard time sewing them shut and putting
on the ribbon to hang them. You want
them to be a bit loose.
Step 9
Fold the raw edge of the
sock towards the wrong side ¼” and press.
Stitch across the top of the sock to close it. Repeat with opposite sock.
Step 10
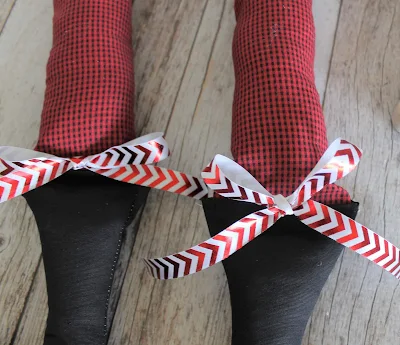
Cut 2 - 12” pieces of
ribbon and tie them into a bow. Tack it
to the top of the witch shoe with either a zig-zag stitch through the knot or
you can also glue them with a hot glue gun or fabric glue.
Step 11
Cut a 30” piece of ribbon
and tie both shoes together at the top of the socks. Make sure to make a tight knot so the two
legs will hang together. Now go hang up
your new witch shoes!
Check out our quick video tutorial as well to help you see how I clip the curves and turn the boots.
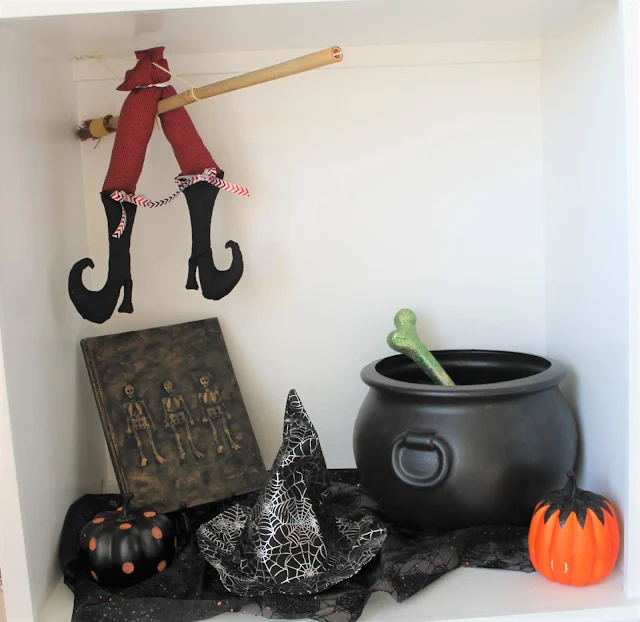
Aren’t these just adorable?! My original witch boots I hung from my front
door. They still reside there. However, this new pair of shoes has found a
permanent home in what my 5 year old calls “our witch area”. We have a large plastic cauldron, glitter
bones, a spell book, and some pumpkins.
We also have added our potions to just above the area. All together the “witch area” is intended to
look like where a witch does her spells.
I was trying to decide how to incorporate this
finished witch shoe template and inspiration hit. She should be flying her broom away to do her
work. I used a bit of yarn and tied up
the broom and than hung the shoes over the broom. It turned out really neat and super
cute. My daughter was so excited when
she saw it.
No matter how you display or use this witch shoe
template, I hope it brightens up your fall and Halloween season.


