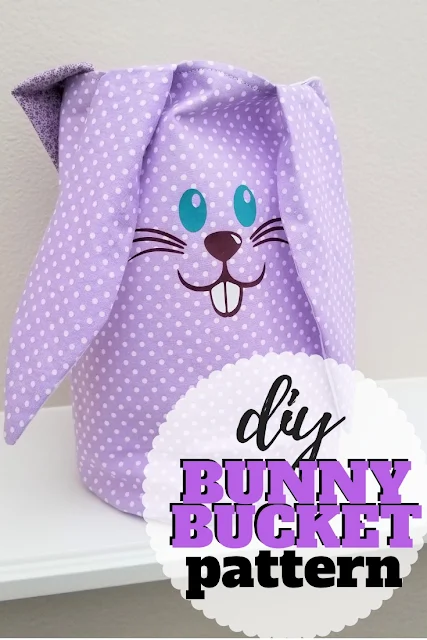
One of the many traditions we've started over the past few years is a traditional family Easter egg hunt. I'm sure most families do this but it wasn't something we did growing up.
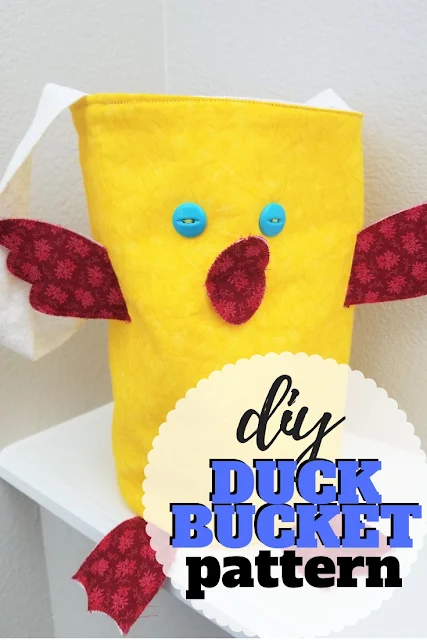
When my oldest was born I made him this adorable duck Easter basket. When my daughter was born, she got an Easter Bunny basket.
Now with my 3rd child, we went back to a duck Easter basket.
When my oldest was born I made him this adorable duck Easter basket. When my daughter was born, she got an Easter Bunny basket.
Now with my 3rd child, we went back to a duck Easter basket.
That's why I wanted to share our duck and bunny Easter basket pattern with you!!
When I originally decided to make a basket I could just hear my husband say
When I originally decided to make a basket I could just hear my husband say
"Boys don't carry bunnies, they carry Ducks."
Which is a reality in our family since we have chickens. My youngest carries them around like they are his best friend. So I wasn't worried about going with a duck basket instead of the bunny for my baby boy.
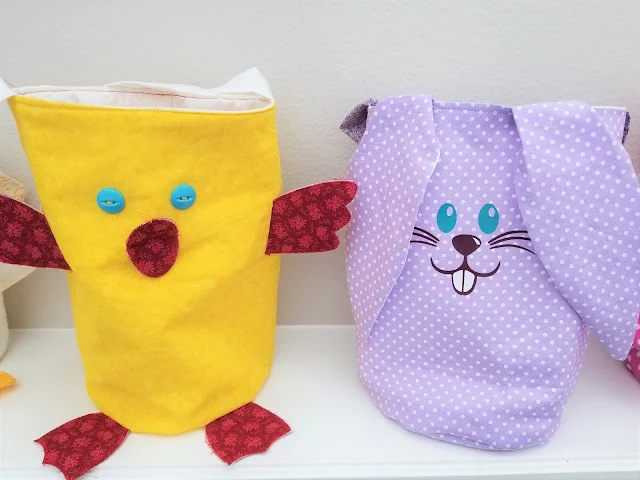
That is how the Duck Easter bucket came into existence!
Easter Basket Pattern
Materials Needed
- Duck and Bunny Easter Bucket SVG or PDF Pattern
- 1/2 yard of main fabric
- 1/2 yd of lining fabric
- 1/2 yd interfacing
- Cricut Fabric Cutting Mat - Cricut has several weights of mats, you'll want the blue or green for vinyl
- Cricut Maker
- You can use iron-on vinyl to make a bunny face, but you'll need:
- Iron On Vinyl (HTV)
- Cricut Easy Press or Iron
You can either watch the video tutorials:
Duck basket Tutorial
Step 1
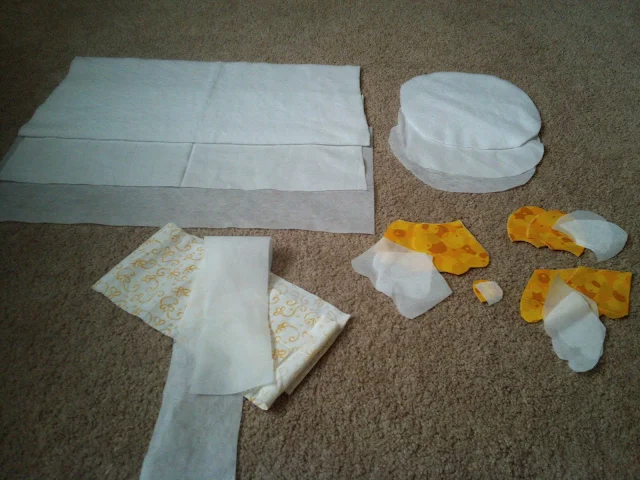
Download the PDF pattern and cut out the pieces you need. Press interfacing to pieces.
Or
Upload the SVG files to your Cricut Design Studio. You'll want to make sure the sizes are correct.
Main bucket should be 11 x 21"
Circle bottom 7 x 7"
Bucket handle 4 x 23"
Duck body pieces should be 12" wide when expanded
Bunny ears together should be 9" wide when expanded
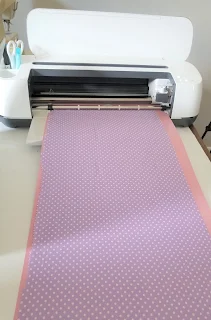
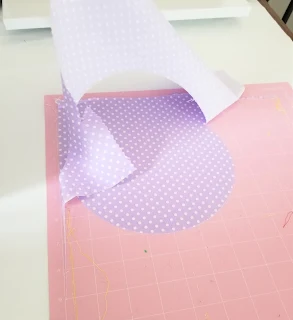
You'll need to cut out the main bucket and bottom out of main fabric, lining fabric and interfacing. Cut just one handle. Send pieces to cutting machine and cut out. Press interfacing to pieces.
Step 2
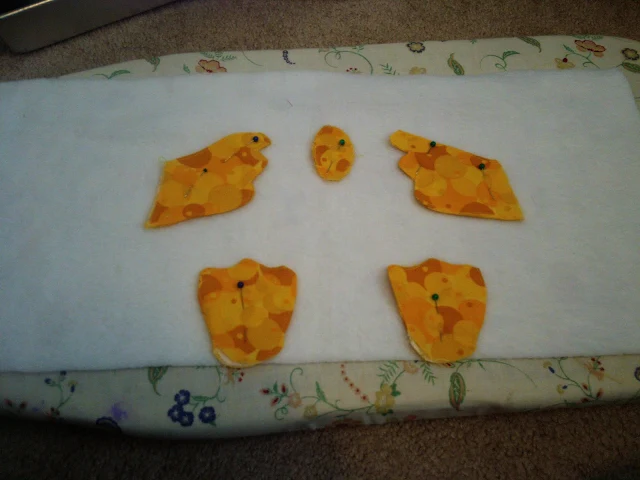
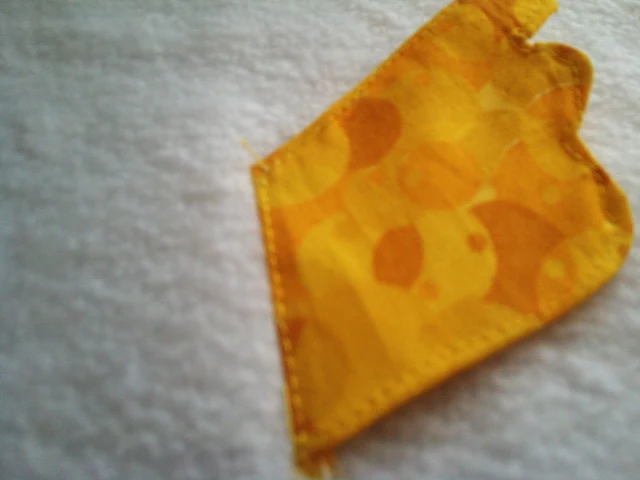
For the duck, sew your pieces together and then topstitch them. Pin them to your top layer starting in the center with the beak. Stitch them in place.
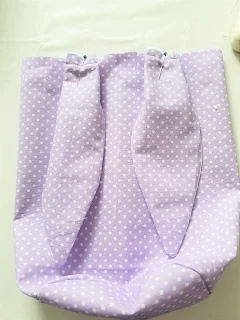
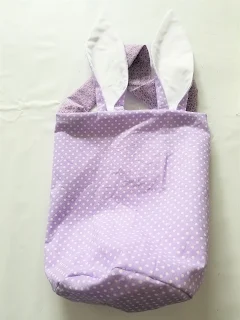
For the bunny, with right sides together, stitch one main fabric and one lining ear together. Leave the bottom straight edge open. Press. Clip the top point. Turn right side out and press again.
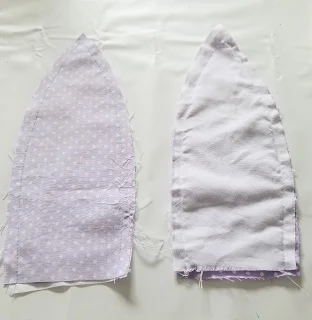
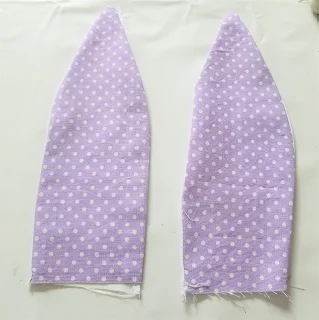
Then fold over each of the sides toward the center lining. Stitch across. Repeat with opposite ear.
Step 3
Fold the handle piece with right sides together, along the long edge. Stitch down the long edge. Use a safety pin to turn it right side out. Press and set aside.
Step 4
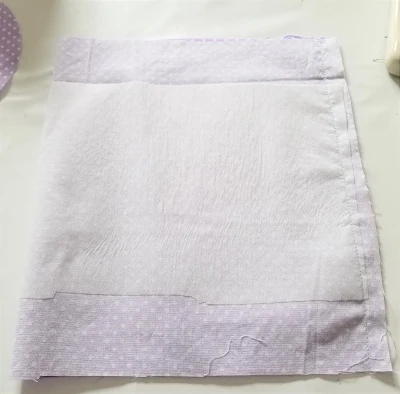
Fold the main bucket piece in half matching the short sides. Stitch down the short side. Repeat with lining piece.
Step 5
Open the main bucket and pin the round bottom piece to the main bucket. Stitch in a circle. For the duck, make sure to insert the tail before closing your main bucket. Repeat with lining pieces.
Step 6
Place bunny ears on the front of the bucket and pin. Place the handle on either side of the top raw edge and pin.
Step 7
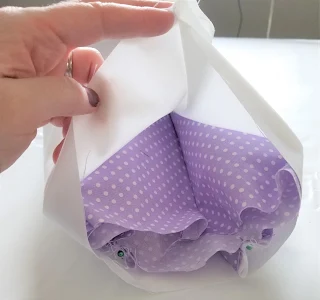
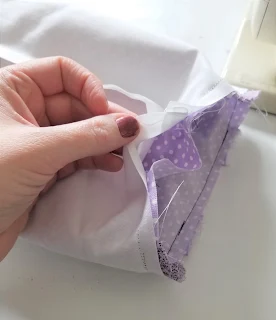
Place the main bucket into the lining bucket with right sides together. Pin around the top. Stitch. Make sure to leave a 2-3" opening so you can turn your bucket right side out.
Step 8
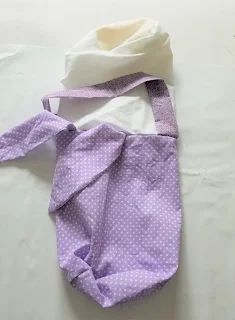
Turn your bucket right side out. Tuck the lining into the main bucket and press.
Step 9
Add eyes, a mouth and whiskers to your bunny and eyes to your duck. You can use buttons, yarn or even HTV vinyl like on this bunny.
I got my bunny face for free here.


