Creating is just in my blood. So much so that I'm positive it is in my children's blood too.
Why?
Every year for Christmas they want to create gifts for their teachers. And let me say, we have a LOT of teachers.
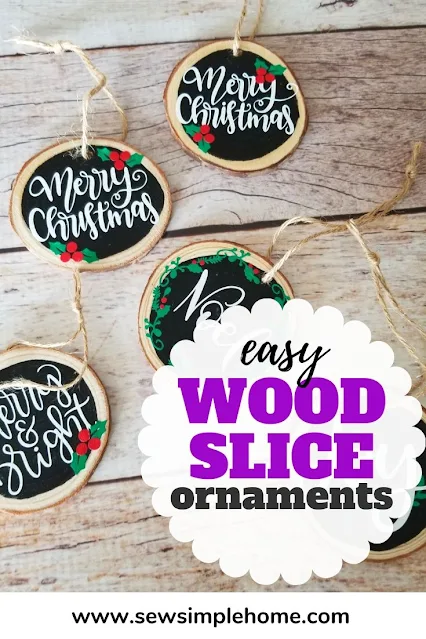
Coming up with a simple, yet creative project can be a challenge. However, these simple DIY wood ornaments were a hit!
This post contains affiliate links to products I recommend. I do make a portion off any you may purchase. See full disclosure here.
Not only are they super classy, but the kids could do much of the "work" themselves.
Yes, I cut the vinyl out. But I had the designs all put together so they could apply the design when they were ready.
All three kids were able to choose the wood slice, paint color and vinyl design for each of their teachers. They loved having choices and being able to say "I made this for you".
Ready to make your own?
You can follow the tutorial below to create your own DIY wood ornaments.
DIY Wood Ornaments
Materials Needed- Round Wood Slices
- Black & White Paint Pens
- White, Green and Red Permanent Vinyl
- Mod Podge
- Twine
- Cricut Maker
All the cut files are from Cricut Design Space and available with the Cricut Access.
Step 1
Sand the wood slices and drill holes at the top of the slice. Wipe them of all remaining dust. They need to be nice and clean.
If you purchase your wood slices, they may be smooth already and not need sanding. Just make sure they are nice and smooth and clean.
Paint a circle using the paint pens onto the wood slices. You may have to do a second coat when using the white paint.
We found creating the circle first made it much easier to fill in with the pen and keep our circle straight.
Step 3
Allow the paint to completely dry. The wood will absorb the paint. Allowing it to completely dry will help you know if you need another coat. And dry paint allows the vinyl to stick best.
Step 4
Cut out the vinyl designs. I used my Cricut Joy to cut these designs. I could sit at the table with the kids and cut them as we went.
All the cut files are from Cricut Design Space and available with the Cricut Access.
Paint a coat of Mod Podge over the top of the ornament. This will help keep the vinyl in place and stop any chipping of the paint. Just preserving the look of the ornament for years to come.
Step 6
Cut a piece of twine for the tie. You can close with either a knot or a cute bow.
Repeat with all the ornaments you need to create.
See how easy that was?! These make really great gifts for friends, family and teachers.
You can use that paint pen to add the year, a name or even a short message on the back of each ornament. We also made simple tags to put on the ornament when we gave them away.


Am I overlooking the link to download the cut files?
ReplyDeleteThese files are free in Cricut Design Space. You can see them here: https://design.cricut.com/landing/project-detail/5fb421eb47972c0d18d81b84
Delete